Caravan awnings, especially vinyl ones, do not tend to last for very long, especially on vans exposed to the elements on a constant basis.
Replacing the vinyl can be done in two ways – either replacing the roll and vinyl together, or just the vinyl. You can often save money by just replacing the vinyl, but beware, because while the job may look relatively simple, getting the old vinyl off and the new vinyl on the right way and sitting in the right position can be very difficult.
In this case, we’re replacing the vinyl of a Dometic awning with an aftermarket vinyl awning.
STEP 1
Release some of the tension on the awning roll.
First, unlock the safety lock and turn the roll to remove some of the tension. Return the safety lock to the locked position.
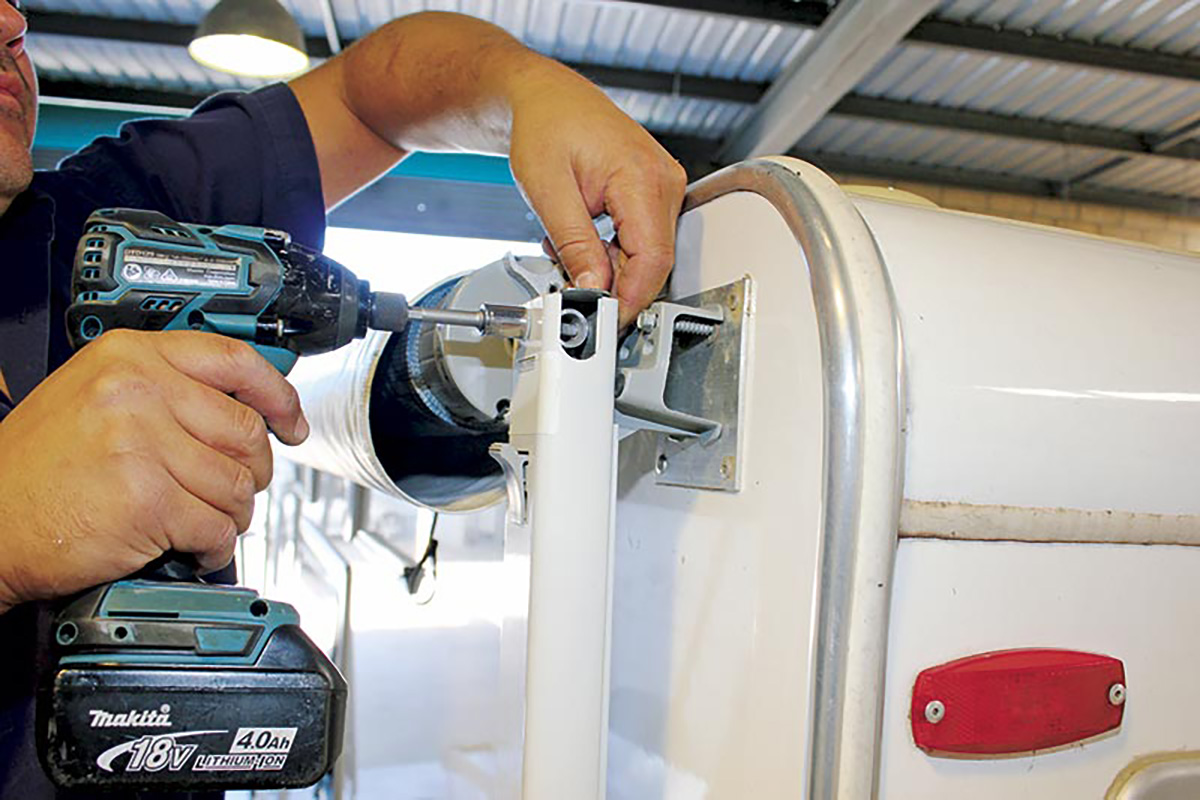
STEP 2
Fit a pin to lock the torsion assembly so the tension is not released when assembly is later removed.
Then fit a pin (such as the shaft of a large rivet) into the torsion assembly on the opposite end (that is, the one that does not have the locking tab fitted, on the left as you look at the side of the caravan) to ensure it does not later release the tension.
STEP 3
Remove the bolts securing the collars from each leg, then the collars.
The awning roll has to be removed from the awning legs. This Dometic awning roll is secured to the legs at each end by a collar.
The bolts that secure the collars to the awning legs need to be removed, and then you should be able to remove the collars from the top of the awning legs.
STEP 4
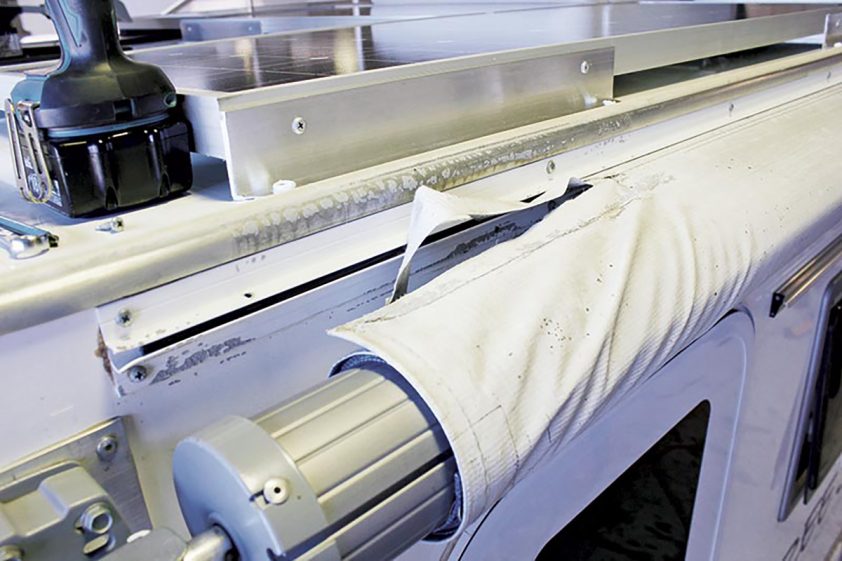
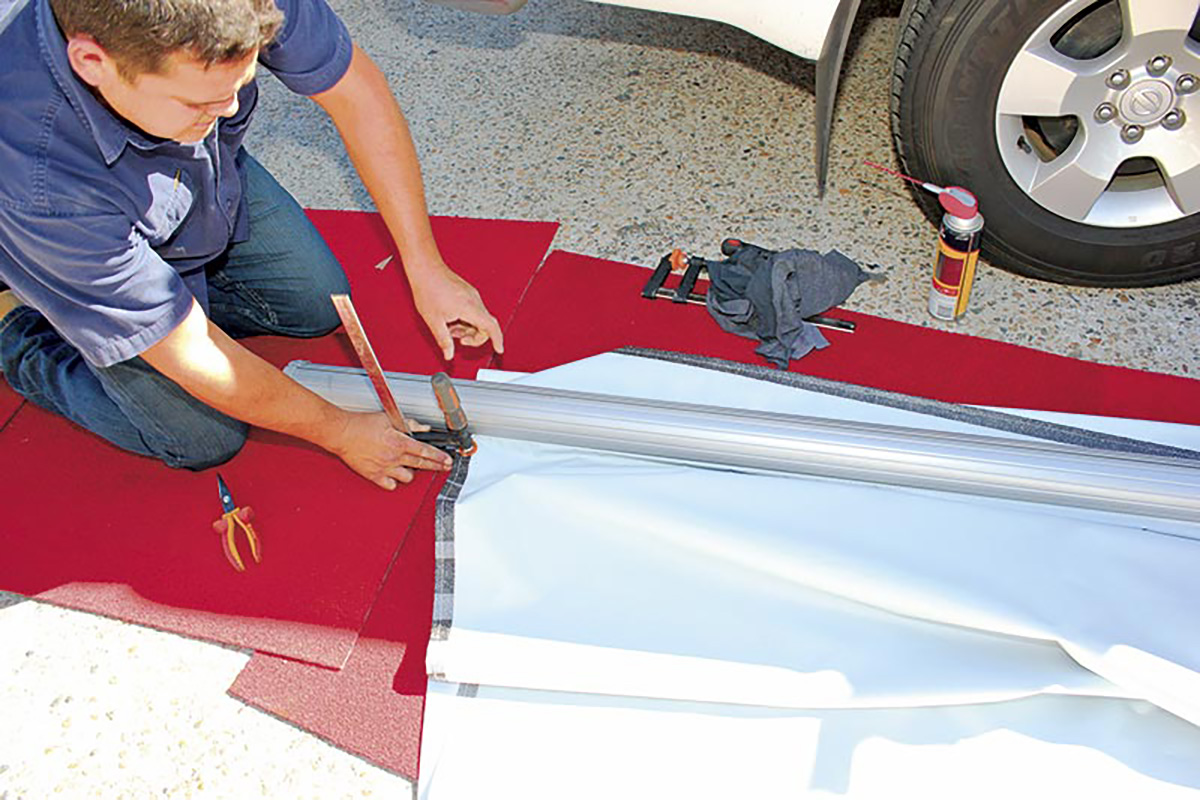
Remove the crew holding the awning spline in place in the sail track.
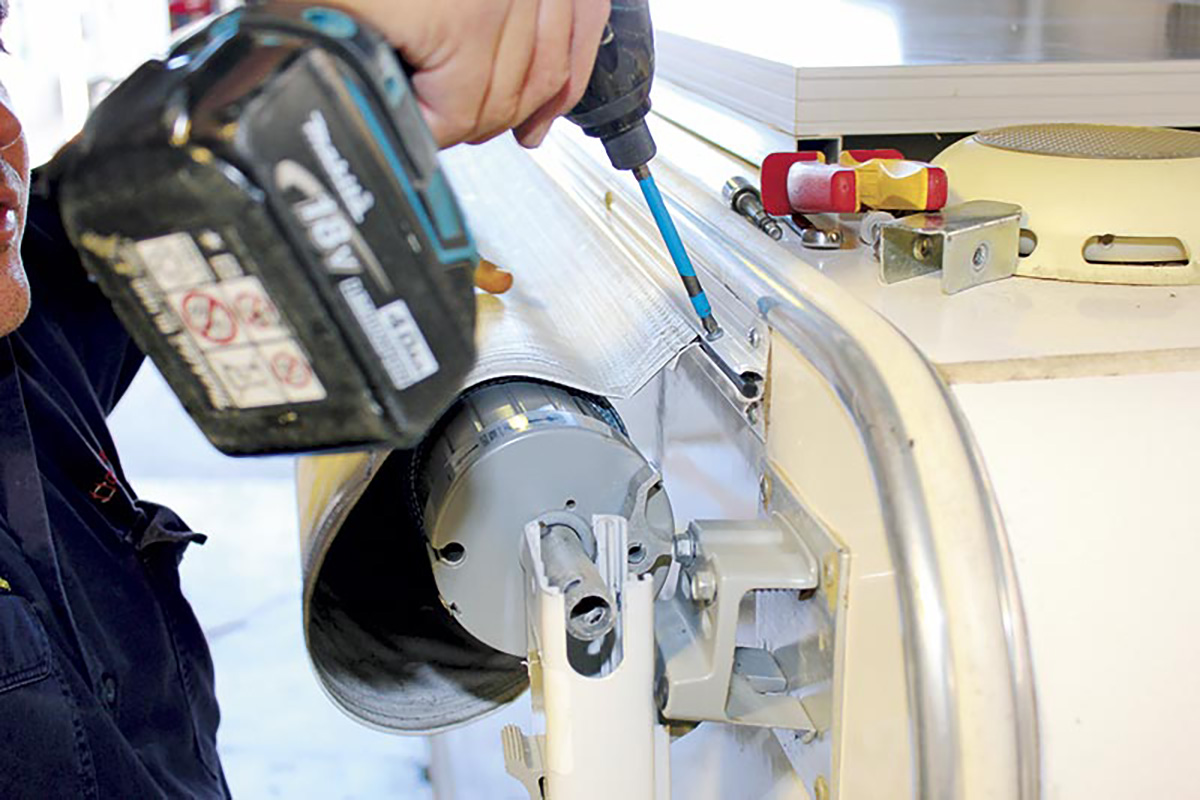
Now remove the self-tapping screws that hold the spline in the sail track on the caravan wall.
Before you go any further, make sure you have something soft to place the roll on when it is removed from the caravan so the new vinyl is not damaged while fitting it to the roll. A length of carpet or camping foam squares should do the trick, so long as it’s at least about a metre wide and long enough to rest the roll on.
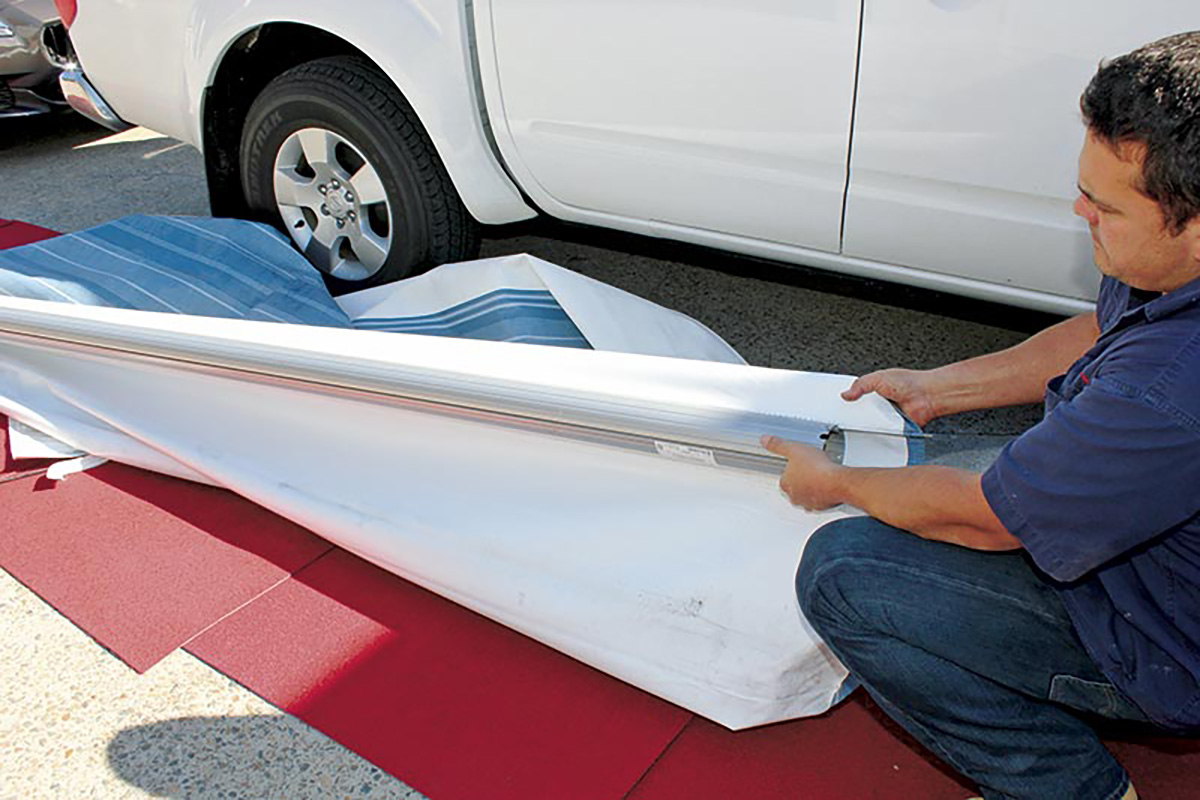
STEP 5
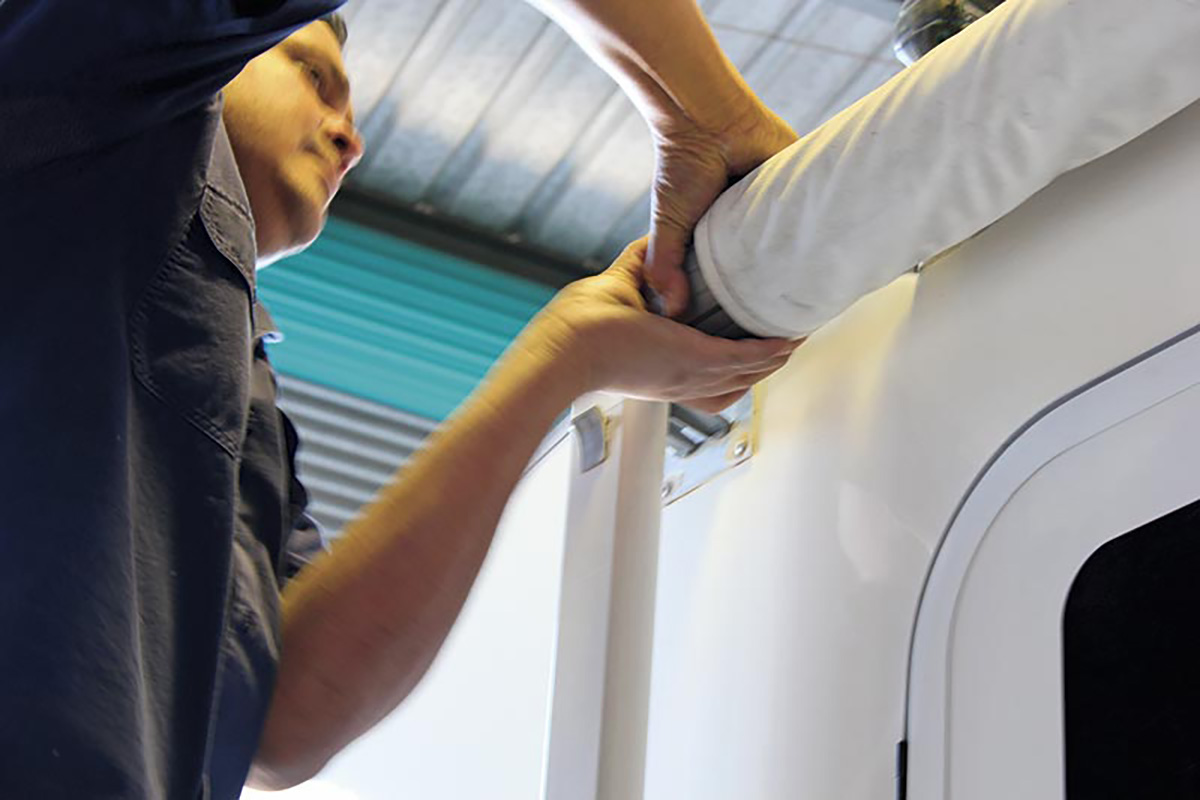
the awning roll assembly can now be removed by sliding it out of the sail track.
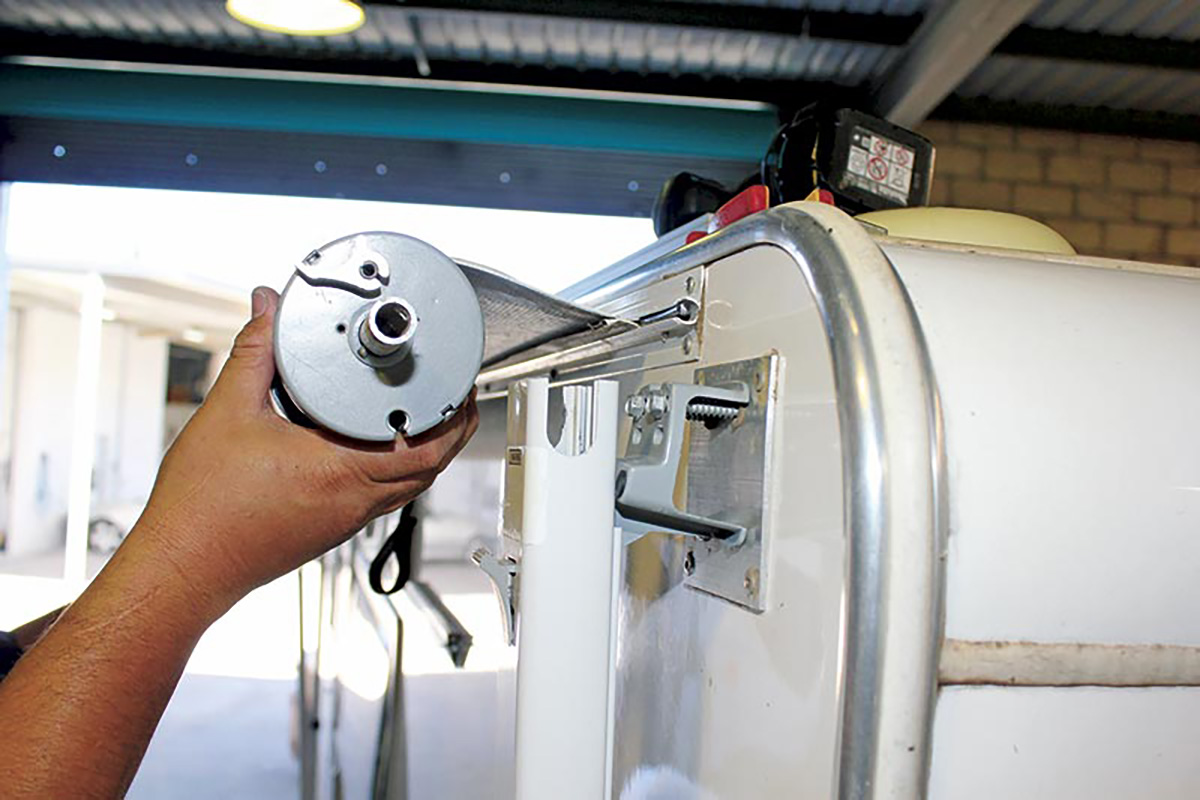
The next step should be done with a helper. The roll is lifted up from the channels on the top of the legs, then carefully pulled towards the rear or the front of the van out of the sail track and onto the soft surface you’ve prepared.
Mark the ends of the roll where it meets the vinyl with a pencil, so that when you fit the new one you can slide it across so that it’s centred. This is especially important if you have annexe walls for your awning, as the walls won’t fit properly if the vinyl is not centred.
Unfurl the vinyl from the roll and slide the pull strap out of its channel and put aside.
While you get the old vinyl off, you should prepare the new vinyl by putting it out in the sun for a while so it softens and is easier to stretch while slotting the splines into the grooves of the roll.
STEP 6
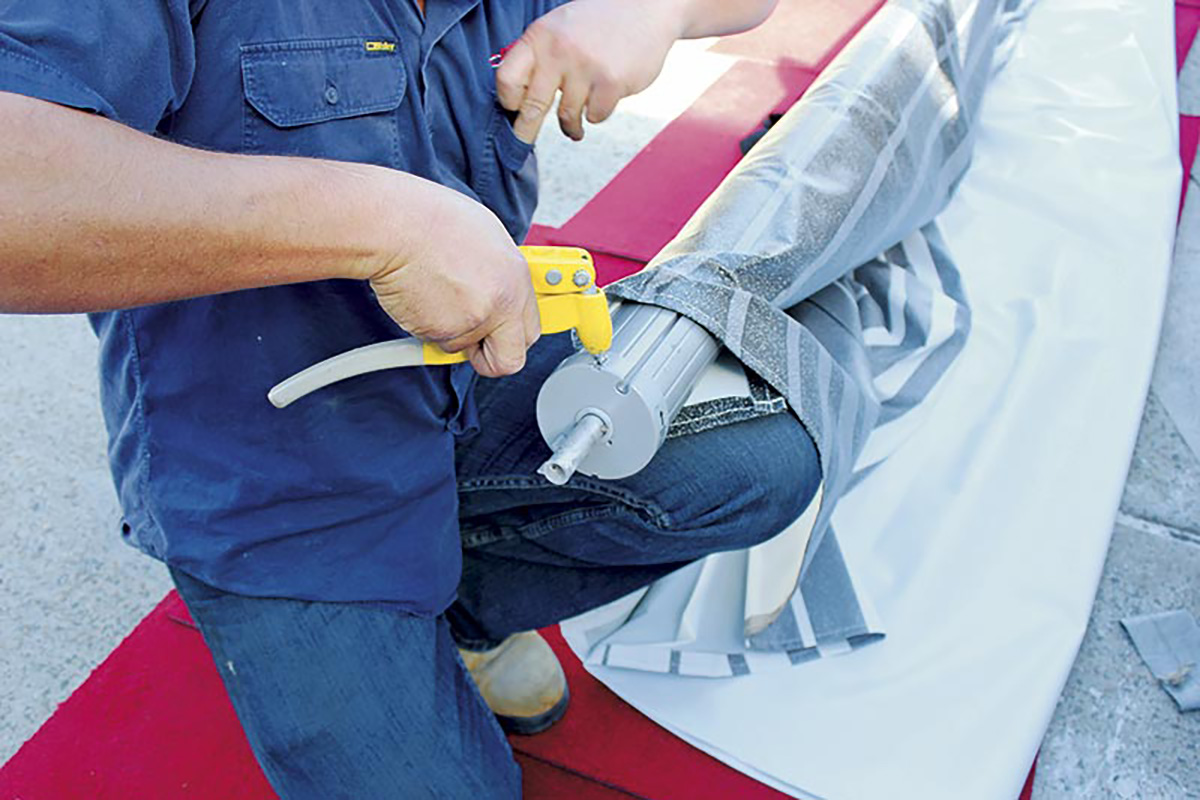
The rivets securing the torsion assembly are drilled out.
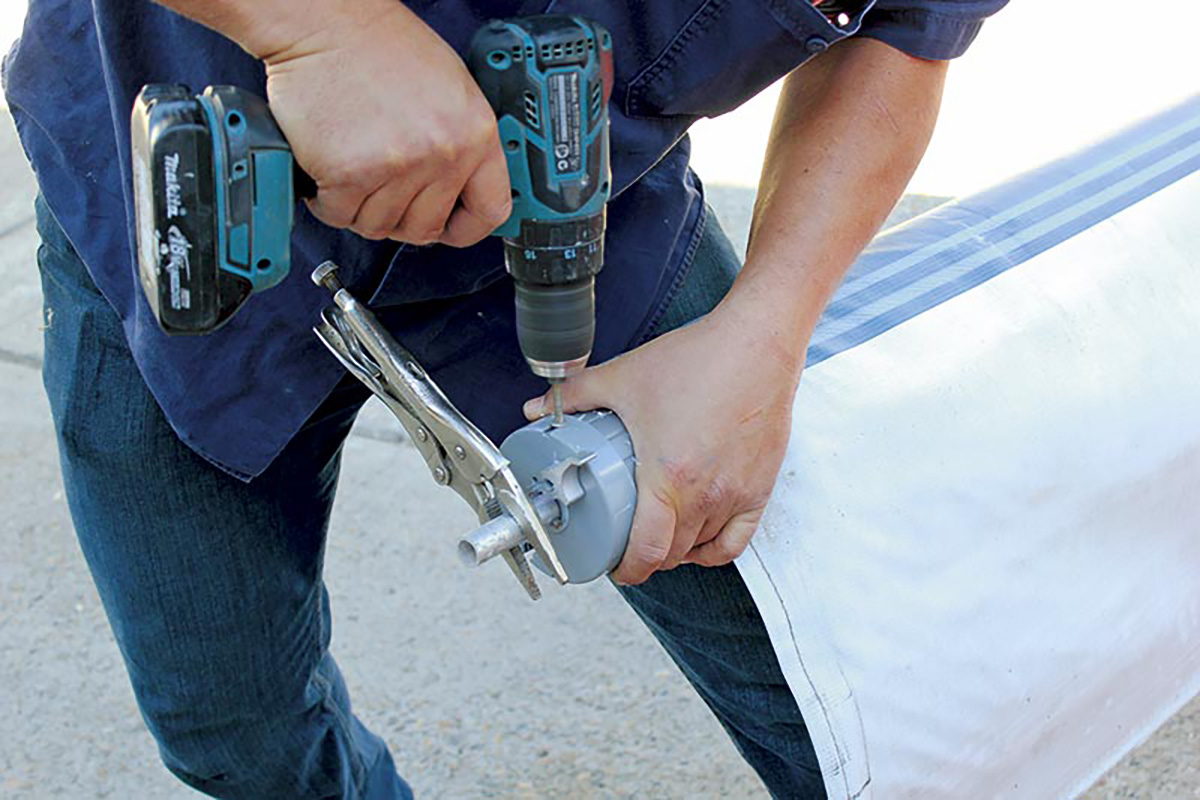
Fit a pair of vise grip pliers to the shaft of the roll and drill out the rivets securing the left-hand side torsion assembly. Now you should be able to pull out the assembly from the roll.
STEP 7
With the awning vinyl unfurled, it can then be removed from the roll.
With the torsion assembly removed from the roll, the old vinyl can now be removed. Sometimes the vinyl slides out easily, other times it can take a lot of effort to remove it. An F-clamp is useful for gaining a better purchase on the vinyl, and reduces the chances of you tearing it while trying to remove it from the roll.
STEP 8
File the sharp edges off the roll makes fitting the new awnings vinyl much easier.
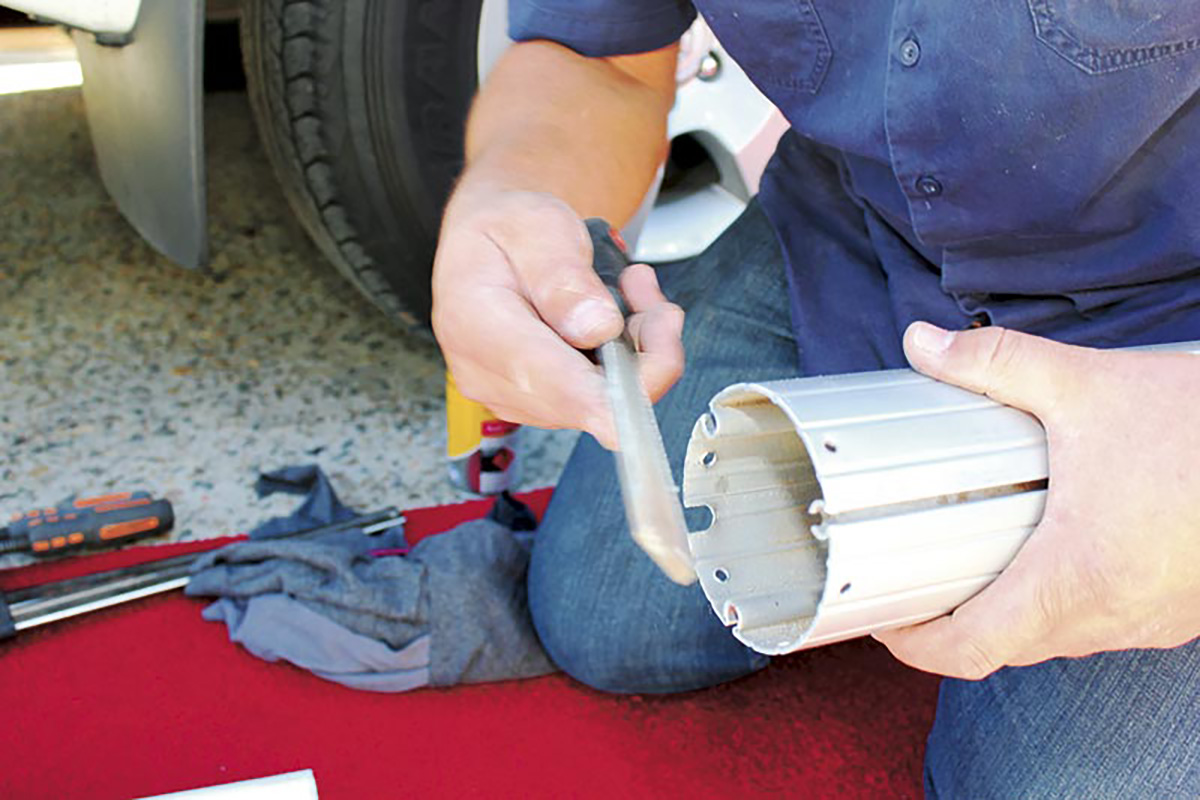
With the vinyl removed, it’s now time to prepare for fitting the new vinyl piece. Firstly, file down any sharp edges in the grooves of the roll so the vinyl does not tear when sliding it on the roll.
STEP 9
Spraying lubricant on the awning splines helps make sling the new awning in much easier.
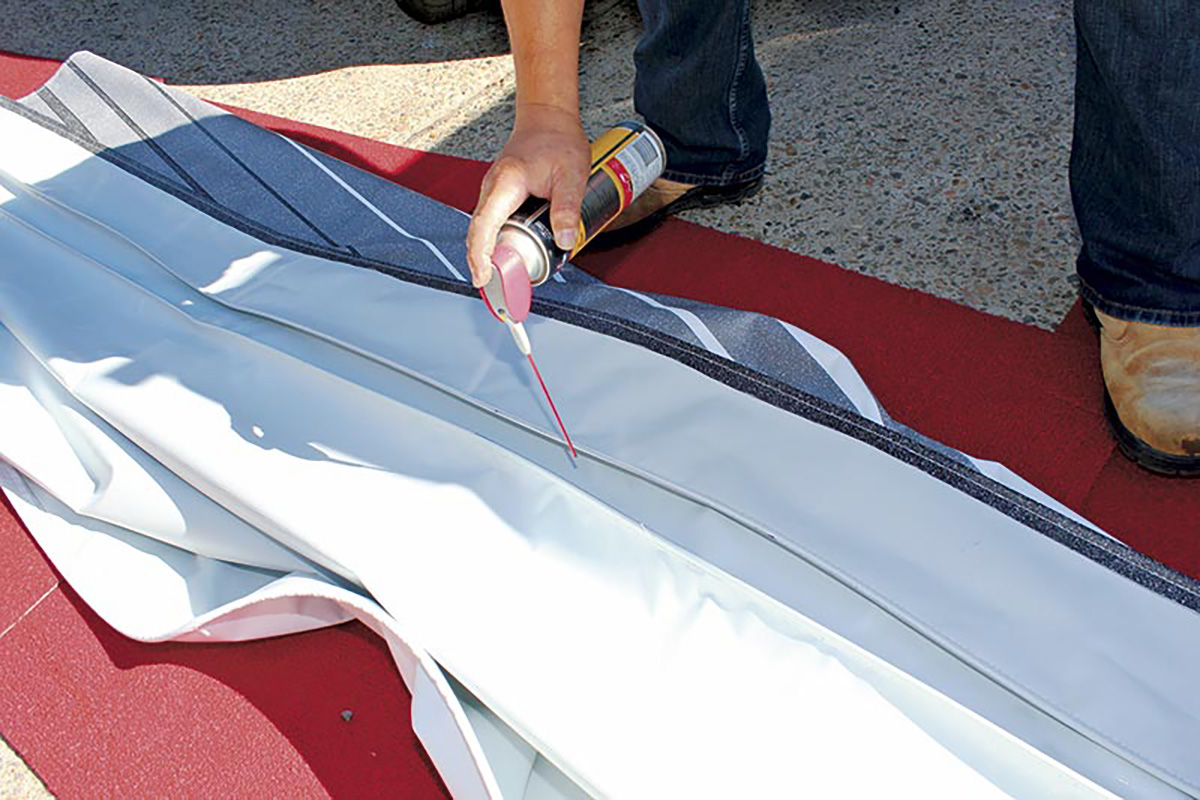
Apply either soapy water or a light lubricant such as WD-40 onto the spline casings so the new vinyl slides on more easily.
STEP 10
Slide the splines into the roll.
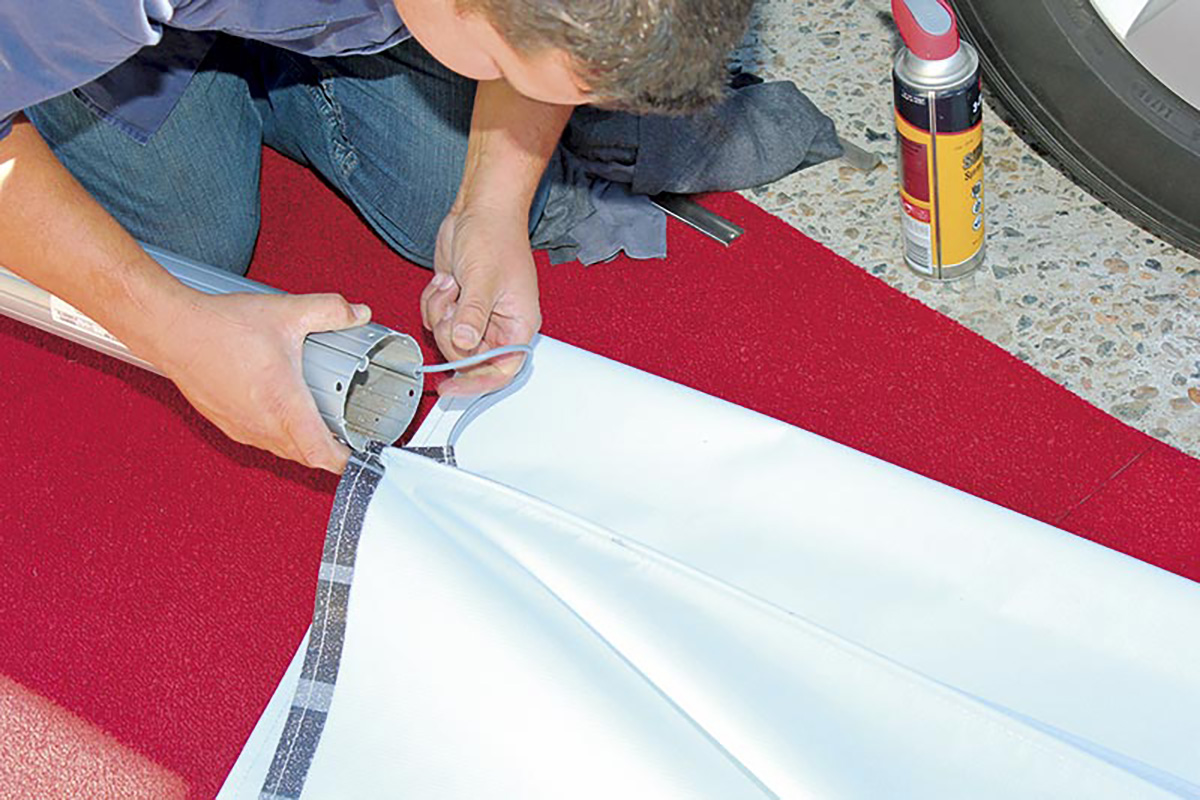
Now to the hardest part of this job: fitting the splines to the grooves of the roll and sliding the vinyl on. Make sure you fit the vinyl on the correct way; you want it to be able to roll up counter-clockwise when fitted so that the outer surface of the vinyl is facing up. Take your time to picture how the vinyl will roll up on the van – this will save a lot of heartache later if you fit it the wrong way.
Now insert the splines to the grooves. If you’ve got the vinyl nice and supple out in the sun you should be able to stretch the vinyl so that all three splines fit in the grooves.
Once you’ve done this, you can proceed to slide the new vinyl onto the roll. Just like removing the old vinyl, this can be easy or very difficult or anything in between.
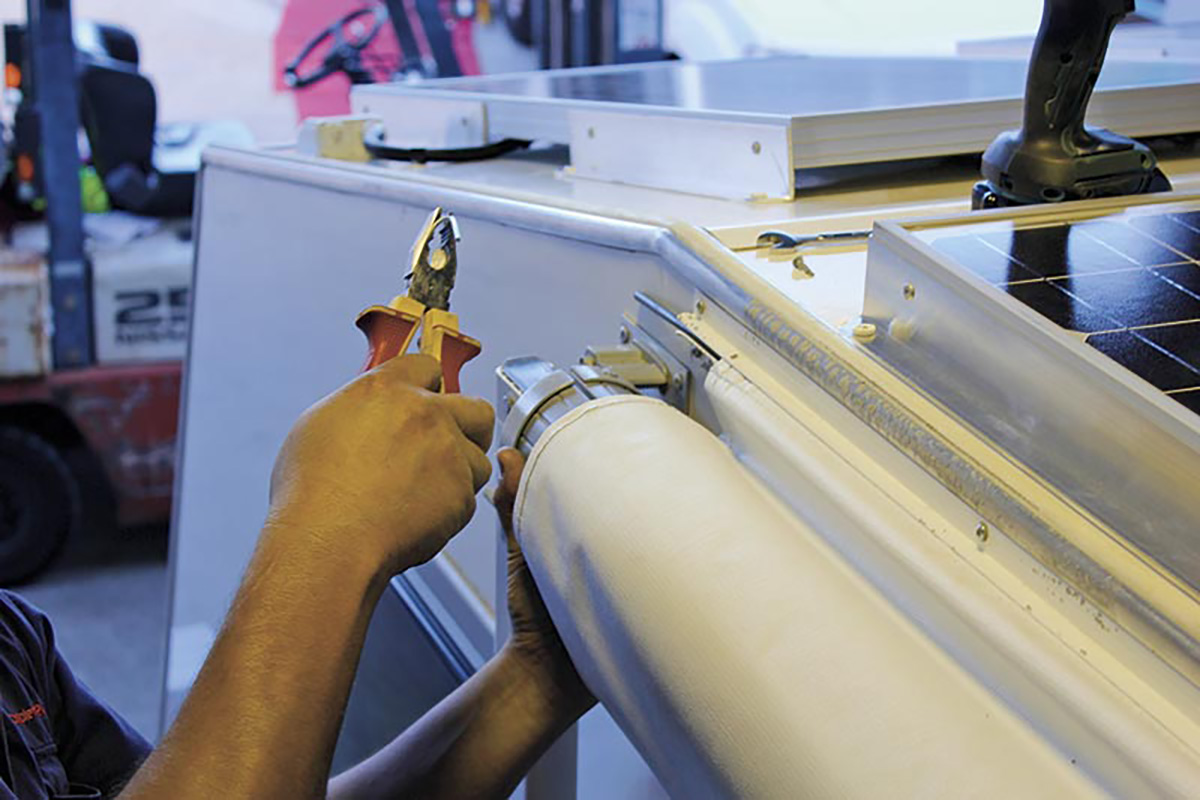
STEP 11
Sometimes, securing a clamp on the vinyl makes fitting the new awning on to the roll easier.
An F-clamp holding the vinyl can help to get a better purchase on the material and make it easier to slide it on. Slide the vinyl up to the marks you made on the roll earlier.
STEP 12
Re-fitting the torsion assembly, making sure that the grooves line up.
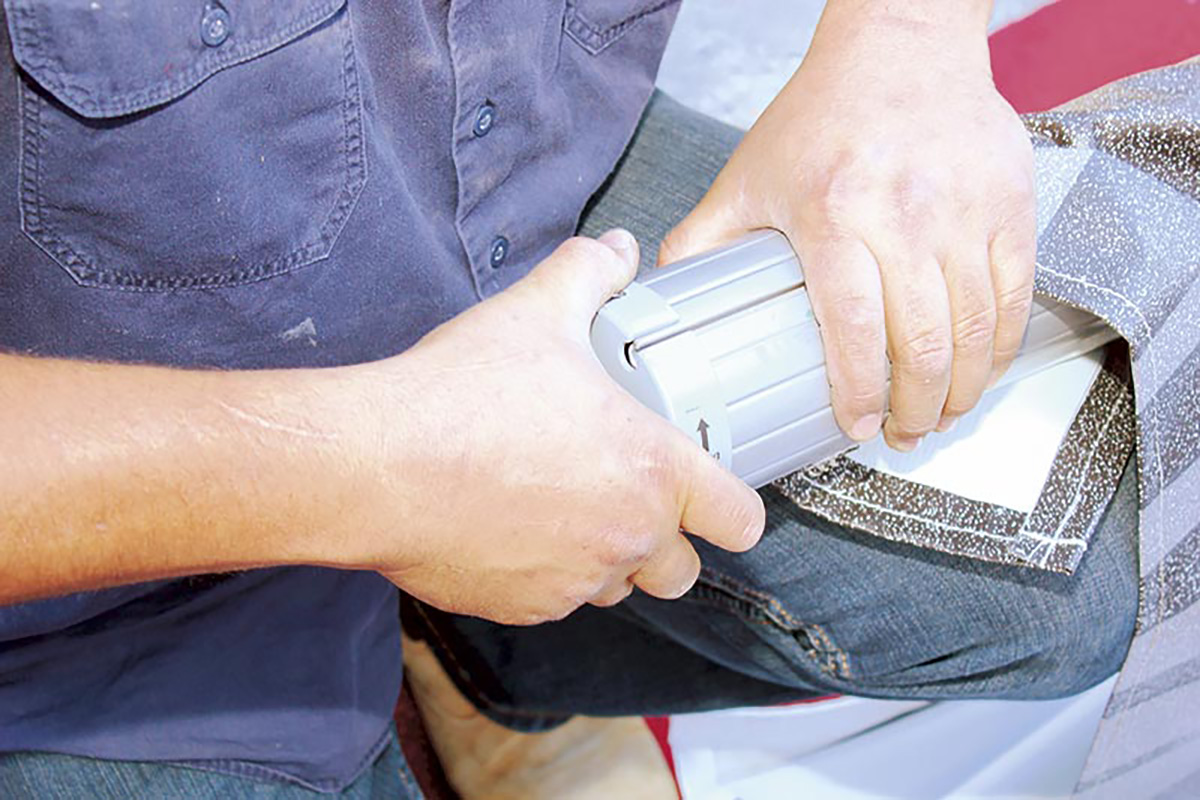
Fit the torsion assembly back on, making sure the grooves in the torsion assembly match up to the grooves on the roll.
STEP 13
Rivets are fitted to the torsion assembly, the vinyl rolled up and the roll reassembled on the van in reverse if the disassembly procedure.
Then rivet the torsion assembly to the roll.
Roll up the vinyl on the roll, checking again that you have fitted it the correct way around.
Now, with your helper, slide the spline into the sail track on the caravan and place the ends of the roll in their grooves in the legs. Re-fit the screws that secure the spline and secure the collars on top of the roll ends.
Remove the pin you fitted earlier to the torsion assembly. Unlock the safety lock and roll out the awning, then slide the pull strap back in.
While this may appear to be a simple process, as noted above, it can require considerable patience when it comes to removing the old vinyl and fitting the new piece.
MEET THE AUTHOR

Philip Lord
Phil is a long-term vehicle tow-tester and also the former owner of a 1979 Viscount Grand Tourer, which he restored before selling it to make room for his next project: a mid-1980s Windsor Windcheater.
Phil has been a motoring writer for more than 20 years. He has tackled most automotive and technical subjects throughout his media career, which has seen him contribute to such illustrious journals as Caravan World, Camper Trailer Australia, Wheels, 4X4 Australia and Motor.