Before you head off on your next adventure, it’s a good idea to make sure your window seals and wheel bearings are in prime condition.
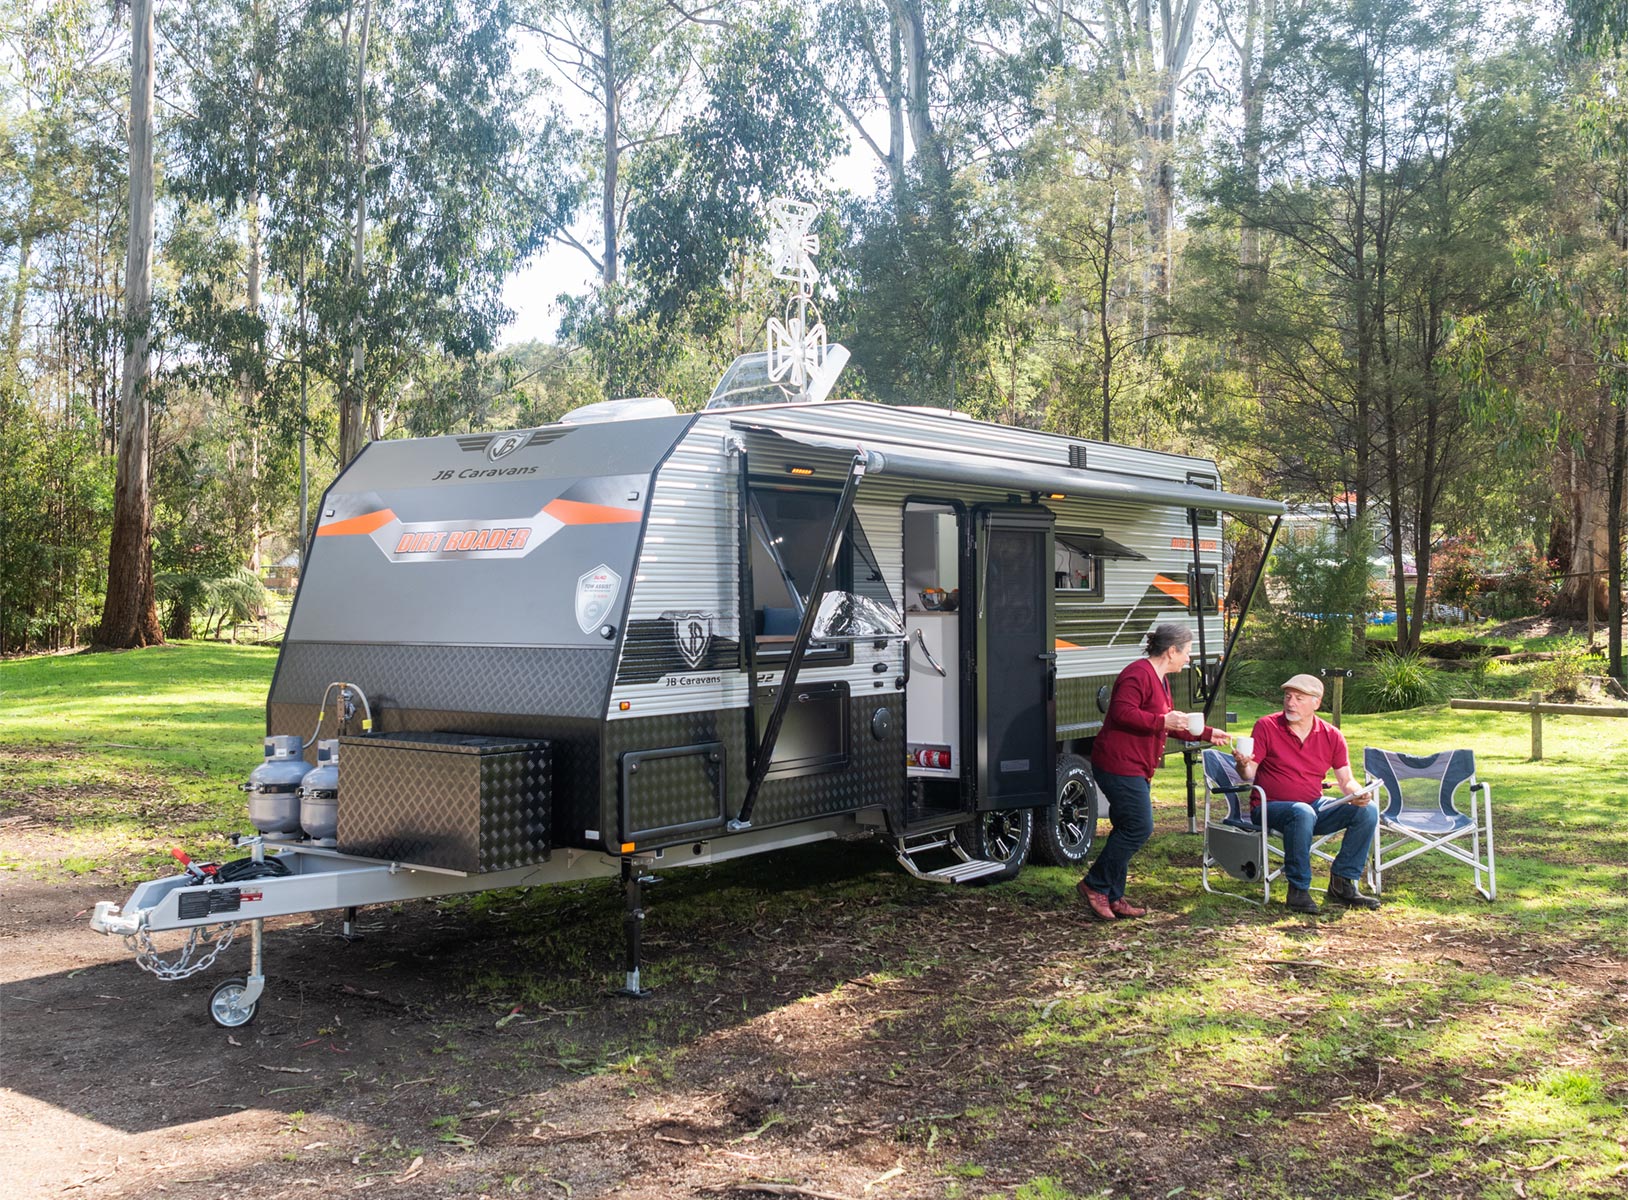
Whether you’re a born tinkerer or simply looking for ways you can get more hands-on in your RV or caravan maintenance, there are plenty of simple tasks that can be done in or around your rig that don’t require a professional.
While the components that go into your van might be of the highest quality, all items tend to deteriorate with frequent use and weather exposure, and it’s a good idea to keep an eye out during your spring cleaning or journey preparation to ensure everything is in good condition.
Here are a couple of simple — and very satisfying — DIY tasks to undertake before your next adventure.
Organisation is key
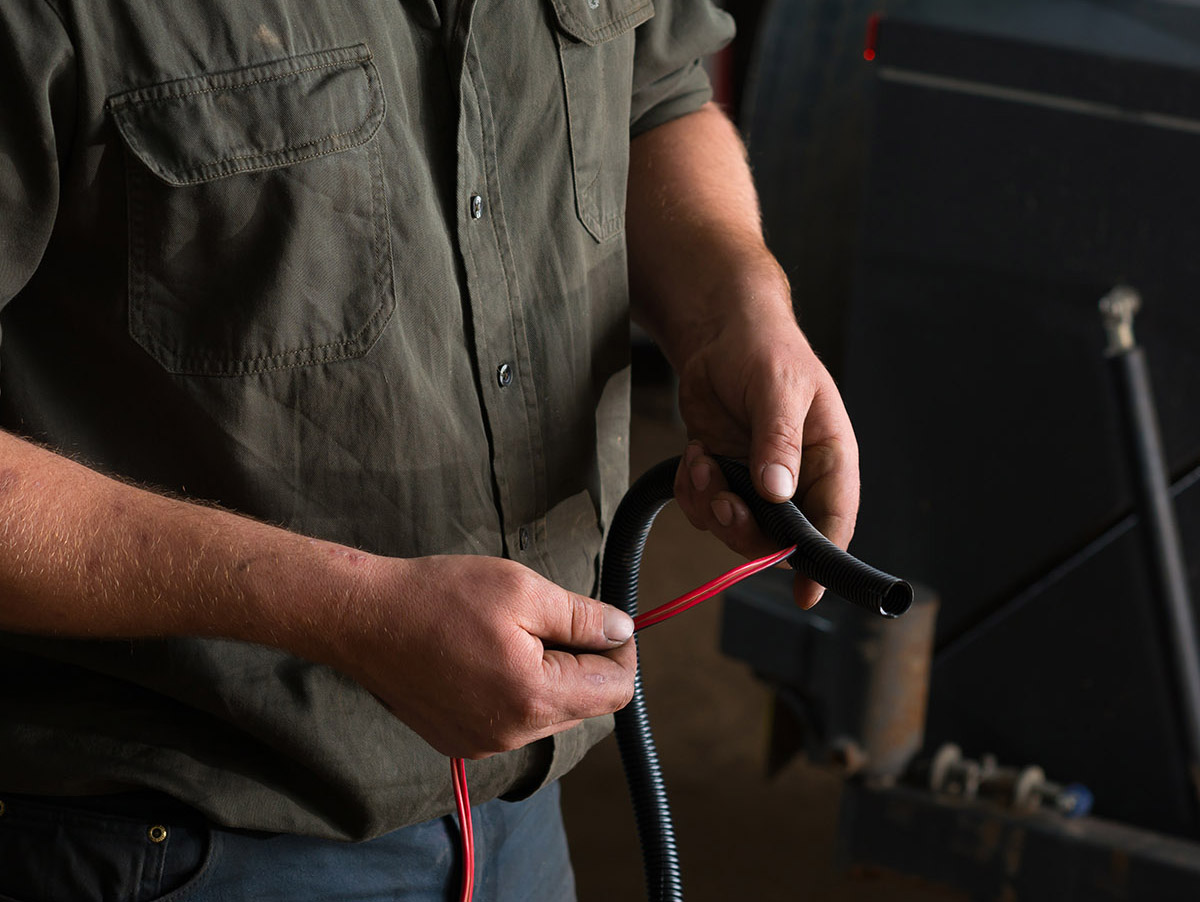
Most DIY projects will require some level of disassembling of parts, so before you jump right into the task, we recommend the best way to do it is to use a smartphone or digital camera to take photos of each step you as you go — making note of what part you’re removing from where.
This means that when it’s time to put everything back together you’ll have a step-by-step image guide to ensure you’re putting all the pieces back where they belong. And with parts all over your garage, having some guidance is the better option.
Replacing window seals
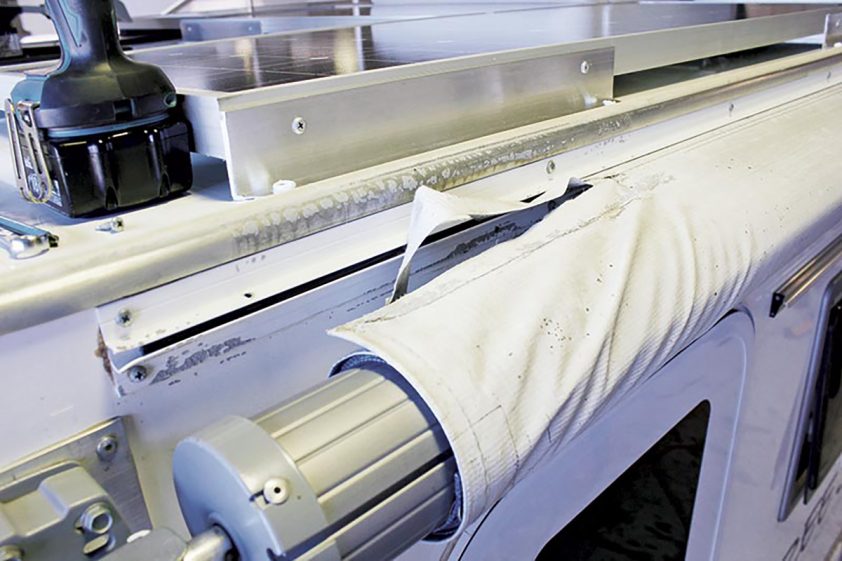
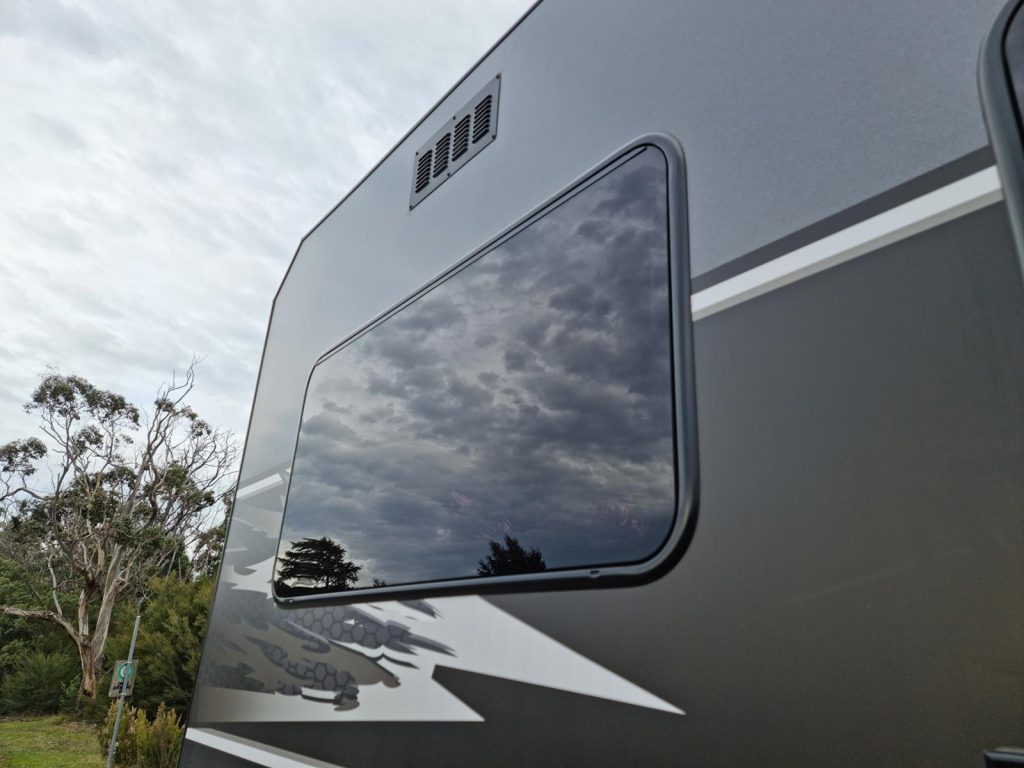
Window seals play an important role in weatherproofing your rig — protecting it from dust ingress through to water damage in the case of rain. But like many items throughout your RV, they do degrade over time and may need replacing.
This is a fairly simple task, and you should allow approximately an hour per window to do a good job.
- From inside the van, remove the plugs in the window cassette, undo the screws and remove the cassette itself.
- Use a Torx bit to unscrew the window clips — some older vans might require you to cut away the silicone and unscrew the window frame from the outside.
- From the outside of the van use a flat blade or scraper to gently pry the window from the van, moving your chosen tool around the frame and taking care not to damage the surrounding cladding. You may need to trim any excess silicone or foam with a knife.
- Using a plastic scraper, carefully remove any remaining foam tape or silicone from the van. Then use some metho and a clean rag to give the van and the window a rub down to remove any residue.
- Beginning at the bottom centre of the window frame, run fresh foam tape all the way around the inside of the frame. To work the tape into the corners, rotate the window. When you return to the starting point, cut the tape with an extra couple of millimetres beyond what is needed so that the ends of the tape butt together tightly.
- Run a little silicone around the window, keeping it towards the inside edge of the foam.
- Place the window back into the frame by resting it on the bottom edge and pushing it in.
- Have a helper hold the window in place while you head inside the van to screw the window clips back into place (refer to your photos if needed). Confirm that everything is flush on the exterior before fully tightening the screws. Then replace the window cassette and enjoy the view.
Regreasing wheel bearings
Trailer wheel bearings may be small but there’s a lot of precise engineering that goes into their important job of keeping your wheels turning with little or no friction. These small parts are exposed to all matter of things that could potentially contaminate the grease (the number one reason for bearing failure) — from constant wetting, dirt, dust and various other on and offroad conditions — meaning they need to be cleaned and regreased according to manufacturer instructions to ensure they keep running smoothly.

While regreasing is not a tricky task, AL-KO recommends using a suitably qualified service agent as the best approach to maintenance.
It’s also good to be aware of the fact that regreasing can get messy. Grease can easily stain your hands and surfaces, so consider getting some gloves or heavy-duty soap ready, and put down a tarp or mat to protect your driveway or garage. A bit of preparation goes a long way when it comes to cleaning up after regreasing.
It’s best to work on a flat surface and you’ll ideally keep your van hitched up to the tow vehicle with the handbrake on to stop the van from rolling. Please note that the van’s park brake normally needs to be in the release position to gain access to the bearings. It’s also a good idea to place a large chock on the opposite wheel to the one you’re working on.
- Loosen the wheel nuts then jack the wheel off the ground and use an axle stand to support the chassis. Some vans have a ‘jacking point’ and you should consult your owner manual to ensure this is used.
- Loosen the wheel nuts then jack the wheel off the ground — be sure to place the jack somewhere suitably solid such as a chassis rail or underneath the leaf spring and support the chassis with an axle stand. Remove the wheel to reveal the brake drum. In the middle of this is the bearing dust cover.
- Use a pair of Multigrip pliers to remove the dust cover. If it’s stuck, gently tap it with a hammer to loosen it up. Once removed you’ll be able to see a large castellated nut which is holding the drum and bearings in place. There’s a split pin securing the castellated nut — remove this and then undo the castellated nut. This is when things will start getting messy.
- Remove the large washer from the stub axle and then the drum as well. Be aware that the bearing may drop out at this point, so it’s best to keep hold of it before this happens as dropping a bearing can damage the case and if this occurs it will need to be replaced. The inner bearing seal should stay in place at the centre of the back of the drum (leave this for now, but it will be replaced later on).
- Use a solvent to clean the stub axle and check for scoring marks (lines of surface damage around the axle due to improper lubrication or severe operating conditions). Scoring damage is unlikely, but if you do find them then the stub axle will need to be replaced.
- Use a heavy-duty, long-handle screwdriver to lever out the inner bearing seal. A decent pry bar is also a good option, or you can purchase a specific seal puller tool for the job. Most seals require a decent degree of leverage, so you may want to put the drum back on the wheel with two or more nuts holding it in place to make it easier to hold when prying out the seal. While it can require some effort to remove the seal, take care not to damage the inner bearing during the process. Once the seal has been removed, the inner bearing can also be removed from the hub and cleaned for inspection.
- Place the drum on a workbench or similar and use a solvent such as kerosene or degreaser to give the bearing, castellated nut (also known as a slotted or axle nut), washer and drum a thorough clean. Then wipe them over with a clean, dry cloth and let the parts sit out for a couple of hours. After letting them sit, give them another quick wipe over with a clean cloth and inspect the bearing rollers for any pitting or discolouration. If you spot any, the bearings will need to be replaced.
- If satisfied with the condition of the bearings, they will need to be ‘repacked’ with grease. Place a hefty glob of high-temperature grease in one palm and press the bearing firmly into the grease and rotate slightly until you can see it ooze through the inner side of the bearing. Do this all the way around the bearing. Wipe a thin smear of grease on the bearing cups and pack the void of the hub (the centre void should be approximately half-filled with grease), reassemble the bearings in the drum and tap in a new inner bearing seal.
- Place the drum back onto the stub axle. Using the correct size ring spanner, tighten the castellated nut while rotating the hub anti-clockwise until a slight binding is felt. It is important to get this tension right as if the bearing is too loose or too tight, it will fail prematurely. Remove the ring spanner and reposition the nut in an approximate 2 o’clock position and rotate the ring spanner clockwise to an approximate 3 o’clock position. This should seat the bearing. Loosen the nut one turn while rotating the hub clockwise. The hub should now have excessive end play. Tighten the castellated nut by hand while rotating the hub anti-clockwise until the castellated nut stops. This will also help the new grease work its way into the bearing.
- If one of the castellated nut slots aligns with a split pinhole, it is ready to fit the new split pin. If it is not aligned, loosen the castellated nut anti-clockwise until the first castellated nut slot aligns with the split pinhole. Secure the castellated nut with a new split pin — split and trim the pin, folding the legs over the tip of the nut. Modern axles tend to be cross-drilled so that a split pin can be pushed through with minimal effect on the nut tension.
- Put the dust cap back into place, gently tapping around the edges using a mandrel or suitable tool and a hammer to secure it into the outer hub boss. Replace the wheel, tighten the wheel nuts (but not entirely), and lower the van. Once all the wheels are on the ground the nuts can be fully tightened to 130Nm of torque. Nuts can loosen over time, so it’s a good idea to check the tension after 100km or so.
- Repeat the process with the other bearings.
If replacing your wheel bearings is necessary, AL-KO recommends replacing the entire set (cup and cone) for optimal performance and life.