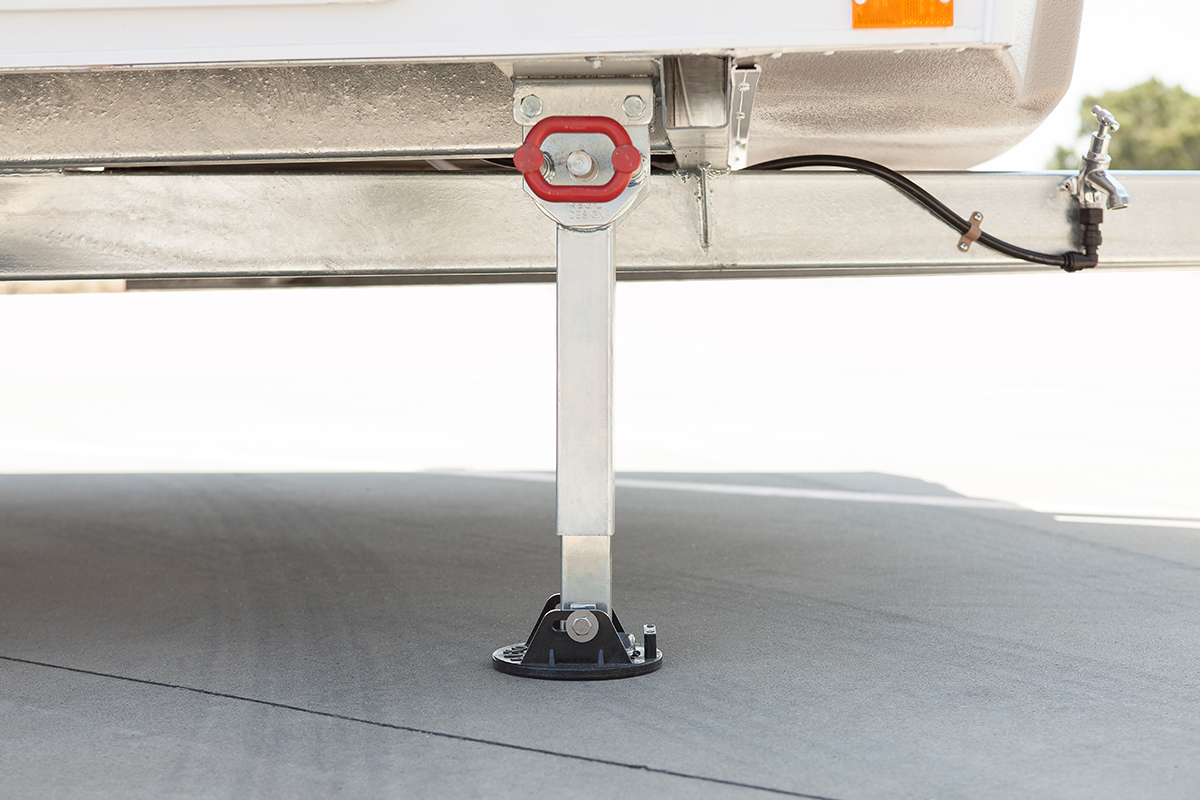
Corner stabilisers or ‘steadies’ are designed to stop your caravan from tipping when you walk around inside it. If you have caravan maintenance planned and steadies are on the list, let’s see how you can attach them safely and securely.
Steadies come in the conventional ‘wind-down’ style or as ‘drop downs’, which can be swung from the horizontal travelling position to different angles. They might be designated left or right and come with a separate mounting bracket, which is welded or bolted to the chassis.
Where to fit them?
Attaching a set of corner steadies as part of your caravan maintenance might seem like a good idea, but before you start drilling holes take time to work out the best place to put them.
You’d think at ‘the corner’ would be obvious but, in fact, they need to be bolted or welded to strong points, yet still be accessible.
Take into account the size and shape of your caravan, as well as other fittings already attached to it. Some mechanics advise against drilling holes in the chassis, which may weaken it. If you do, however, it is better to drill into the side rather than the top of the chassis rail.
Fitting the corner steady
- Check the new steady is suited to the weight of your caravan.
- Hitch the caravan to the towing vehicle and park on flat ground, so that it sits level.
- Make sure your brakes are engaged.
- Place a jack under the corner where you’re fitting the new steady and wind it up without lifting the van off the ground. This should ensure the van remains stable while you’re working.
- Some brackets need to be welded to the chassis, while others are designed to be bolted to the frame. The former is preferable for stability and strength. Follow the manufacturer’s instructions and if you don’t have the facilities to do your own welding, take the caravan to a mechanic for this step.
- Once the bracket is in place, attach the leg using the supplied bolts.
- Lower the steady, wind it to the optimum angle and height (if applicable), then remove the jack. Test the caravan for stability by walking around inside, then repeat on the other side corner, if necessary.
Always ensure the caravan is level and fully supported before working underneath it. Unless you can lift it on a hoist, it is advisable to hitch it to the towing vehicle for added security.
If you are familiar with welding, ensure you take all the normal protective measures before and during the job. If not, we suggest you take the caravan to a workshop and ask mechanics to do the job for you.
Before starting out on any maintenance tasks on your caravan, we suggest you get to know its underbelly first.
Image: Brett Goldsmith


