1. LOOSEN THE WHEEL NUTS & JACK UP THE VAN
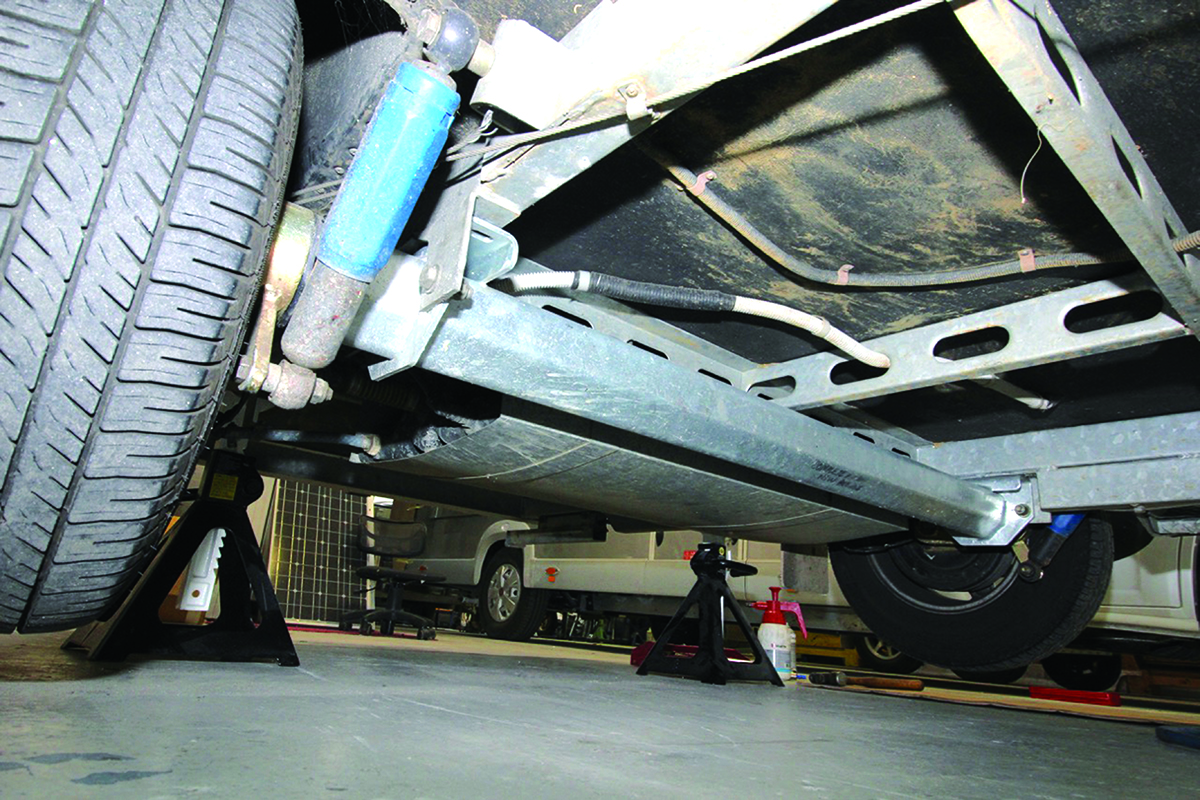
Start off by loosening the wheel nuts. Don’t remove them yet; the point of loosening them now is that it’ll be a lot harder to do so later when the wheels are off the ground.
Jack up the van and place on axle stands. Make sure that the stands are supporting the main chassis rails – you can use the jockey wheel to raise and support the front of the van.
2. REMOVE THE WHEELS
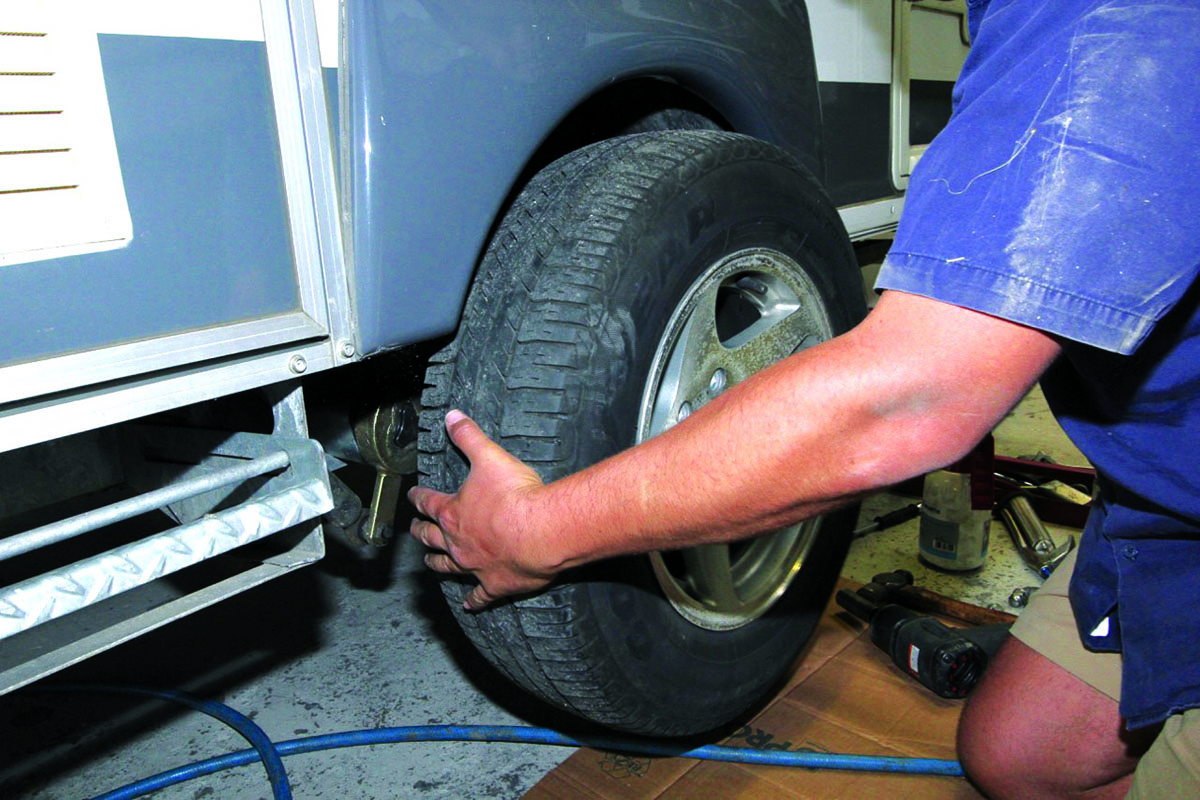
Pop them under the van so you don’t trip over them.
3. TAKE OFF THE BRAKE DRUM
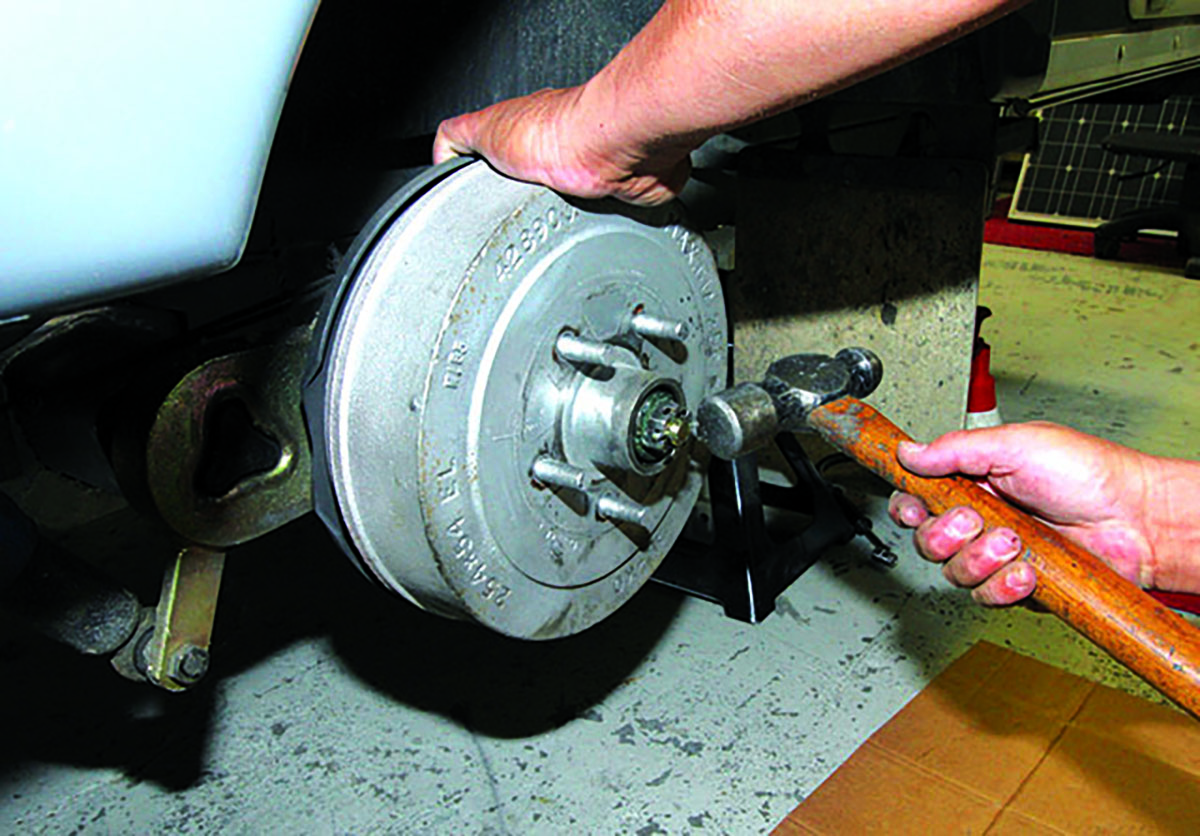
Remove the wheel bearing dust cap either by gripping it with a pair of pliers or gently tapping around its edges with a hammer. With the cap removed, you can take out the split pin (which locks the spindle nut in position).
Bend the single ends of the split pin until they’re as straight as you can get them. Then either tap out the pin from the single ends side with a hammer or grab a pair of pliers and pull it out from the looped end. Now get your trusty shifter or open-ended spanner and undo the spindle nut. The drum is now free to slide off the spindle but remember you’ve got a spindle washer and outer bearing loose in there so be prepared to grab them before they go rolling away on the floor.
4. CHECK THE DRUMS FOR SCORING
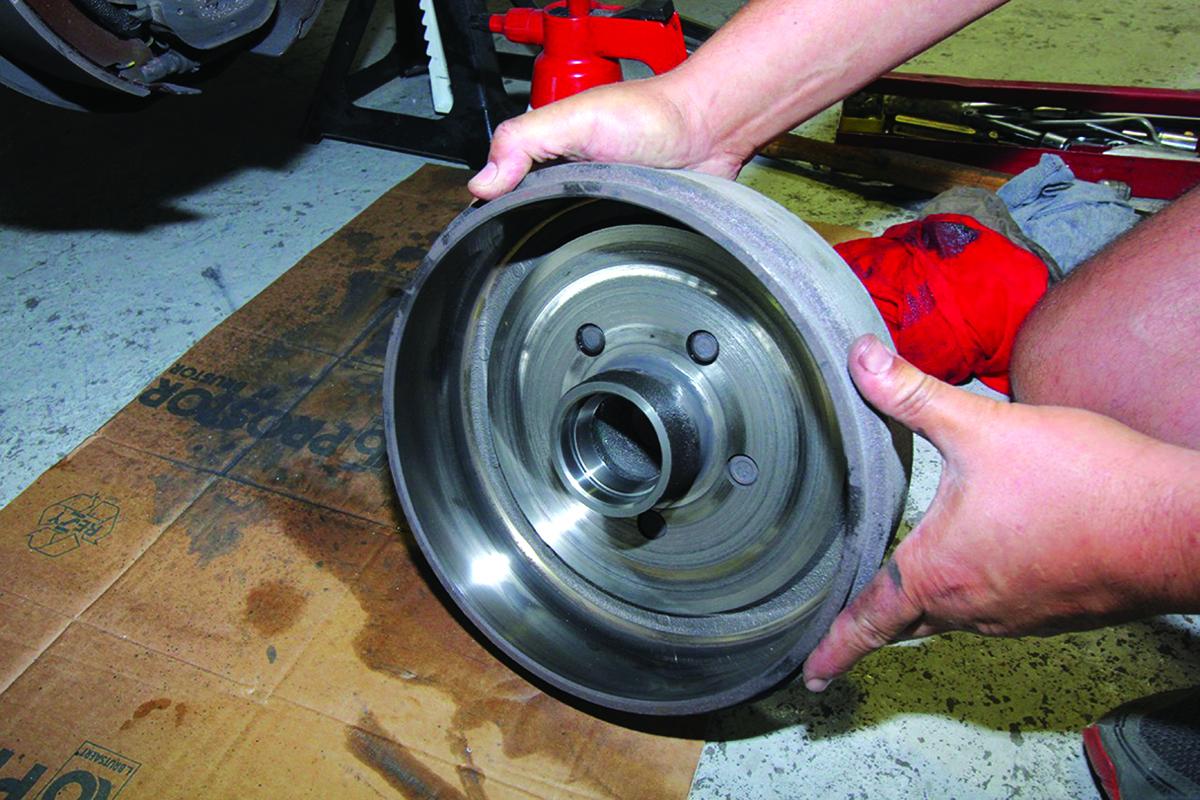
Inspect the brake and magnet surfaces. On the inside of the brake drum, what you’re firstly looking for is scoring marks or heavily worn surfaces on the inner circumference (if there’s more than 0.5mm wear). On the magnet-wearing surface of the drum you’re checking for bad score marks or uneven wear. If you find these problems you should replace the drums.
5. INSPECT THE BRAKE LININGS
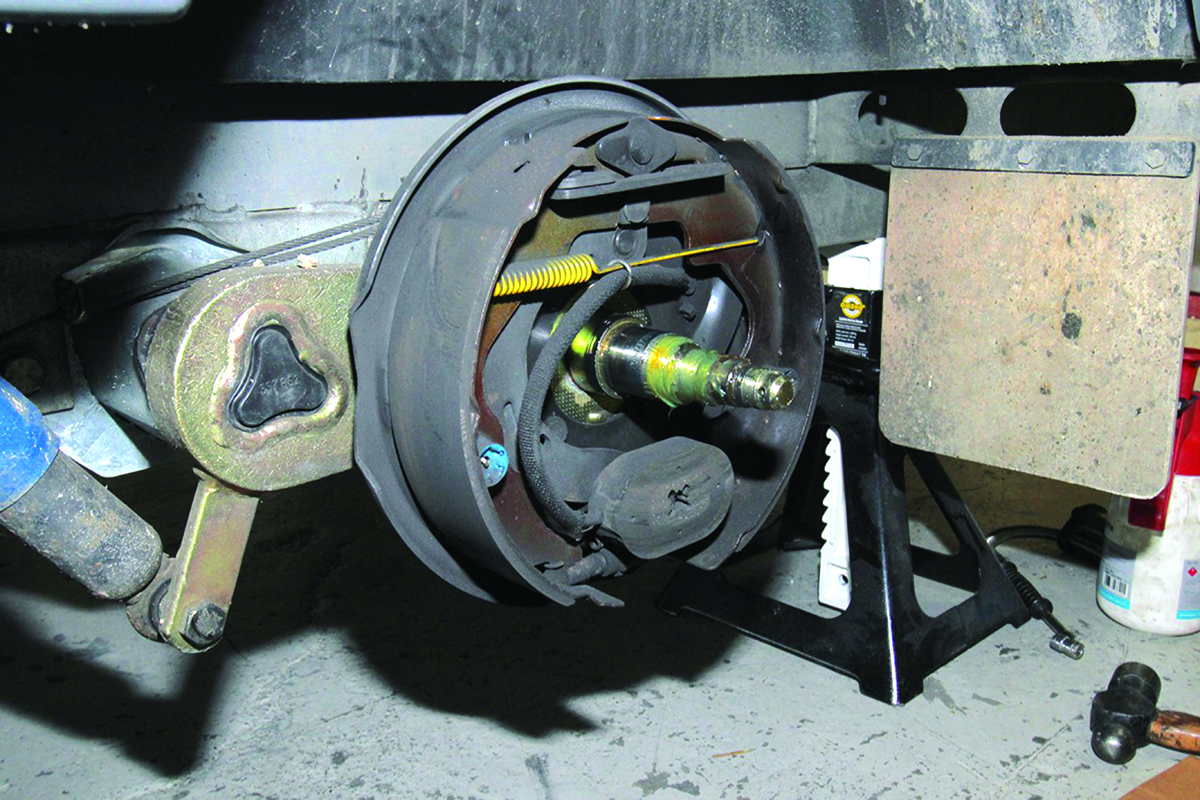
Now you can check the linings themselves for excess wear, contamination or damage. The linings should be replaced if there’s only 0.8mm material left on riveted linings or when they’re down to 1.5mm on bonded linings. Also check for oil contamination and for scoring marks – in both cases the linings should be binned and new ones fitted. If the leading and trailing edges of the linings are not bevelled, it’s a good idea to file a bevel into the edges.
6. CHECK THE WIRING
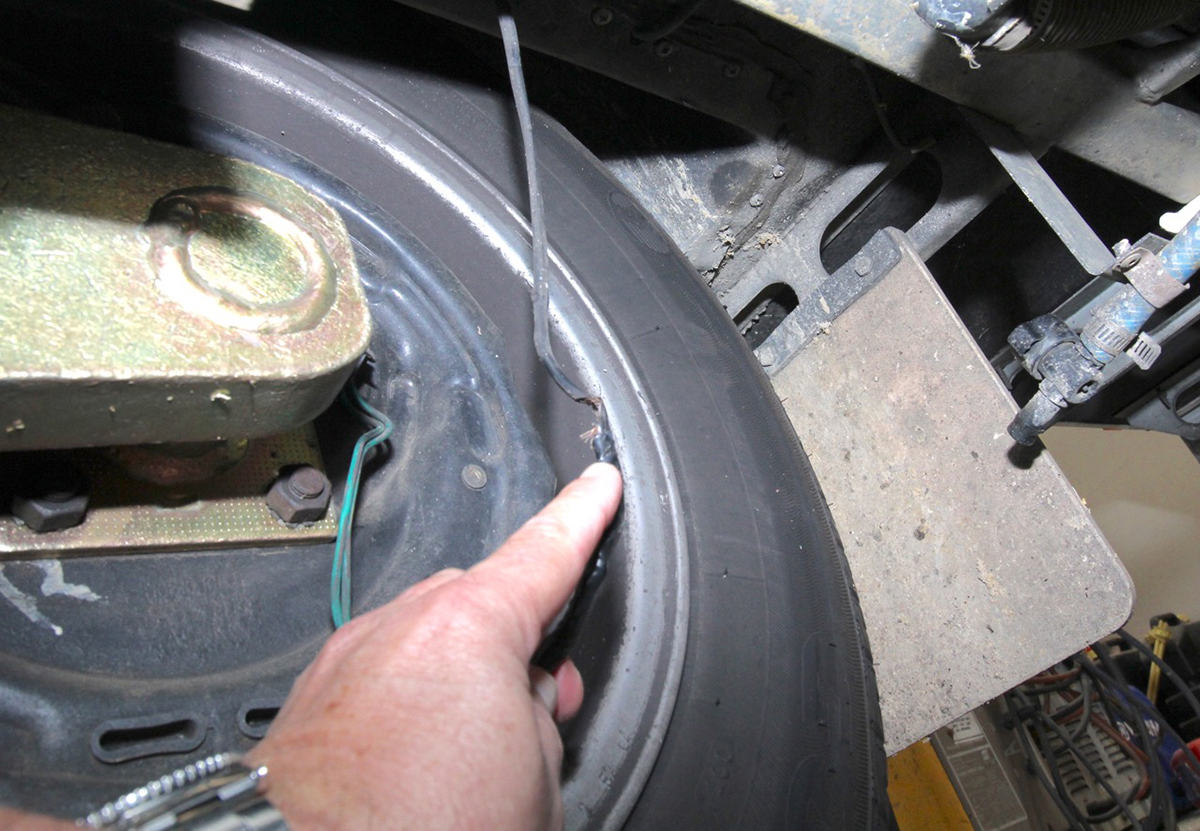
If there is damaged wiring, now’s the time to fix it. This van had damaged wires we needed to fix. As there was plenty of slack in the wiring here, it was pretty straight-forward; we cut out the damaged section of wiring, paired back the insulation and soldered the wires together.
7. REPAIR THE WIRING IF DAMAGED
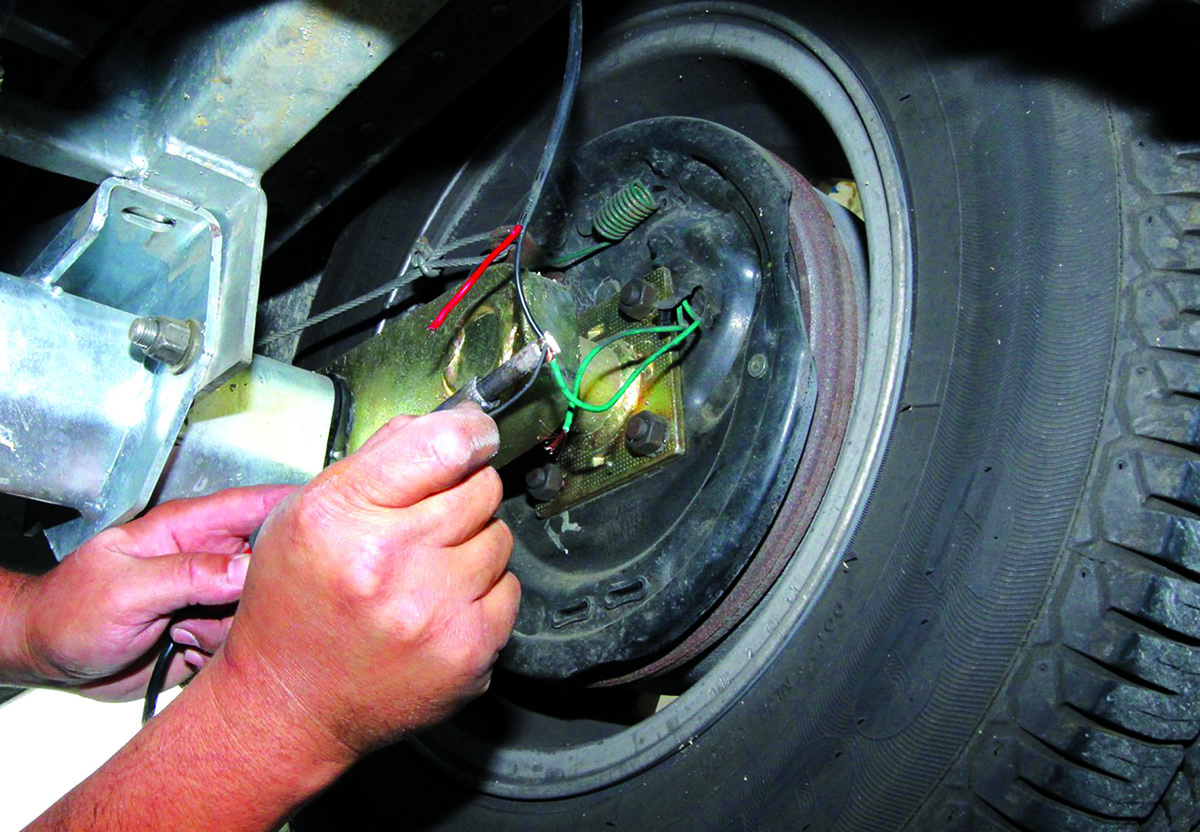
Make sure you heat up the soldering iron for a few minutes before using it. That’ll give you time to twist the wires together. Polarity is not important here, so it doesn’t matter which wires you pair to solder. Keep the soldering iron on the join until the solder has melted in. Then you can wrap electrical tape around the fresh join to avoid shorting the wires (or use heat-shrink tubing).
If you’re tampering with wiring, you’ll need to verify that the brakes are operating following any wiring work. Simply getting someone to manually activate the brakes while the van is off the ground and trying to spin the wheel is generally sufficient.
8. PUT IT ALL BACK TOGETHER
It’s a reverse of disassembly but you need to make sure you’ve tensioned the bearings by the right amount when you’ve refitted the spindle nut (and really, by rights, you should check the condition of the bearings while you’ve got the drums off). Tighten the nut until the brake drum becomes hard to spin. Then loosen the nut until you can spin the brake drum. It should be able to spin freely for a couple of revolutions before coming to a stop. Now you can re-fit the split pin, this is extremely important to be fitted correctly (a replacement of the split pin may be necessary) and replace the dust cap.
9. ADJUST THE BRAKES
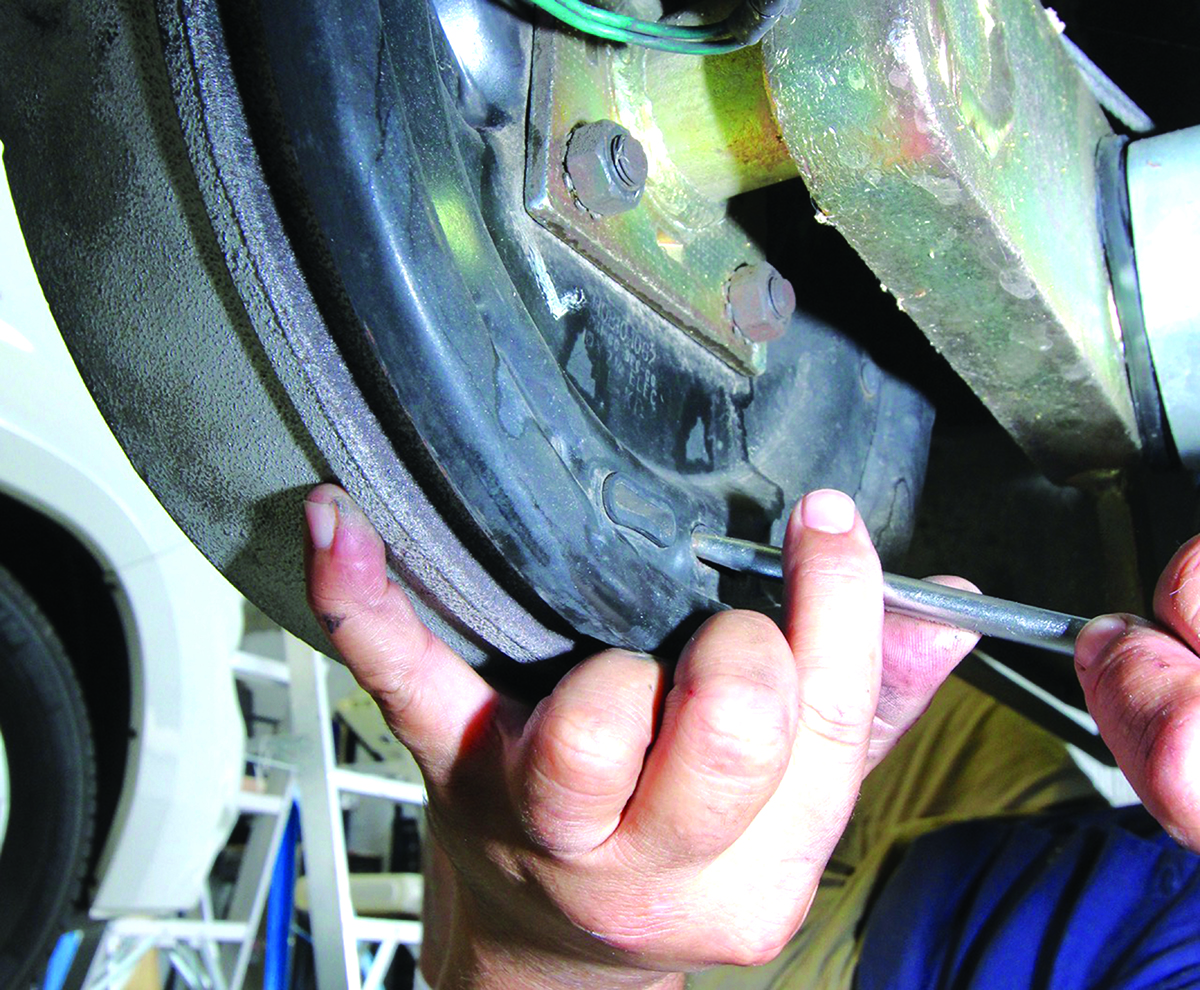
Towards the bottom of the brake backing plate there’s a small rectangular hole that gives access to the brake adjuster wheel. Grab a screwdriver (or better still, a dedicated drum brake adjuster tool, as it’s a slightly different shape and much better suited to the job) and tighten up the brakes until the drum can’t move any more. Then back off the adjustment about seven clicks. Spin the brake drum – it should be able to do two revolutions on its own before slowly coming to a stop, if the adjustment is correct.
10. REFIT THE WHEELS
Refit the road wheel and tighten a few wheel nuts so that you can give the bearings a final check: Grab the wheel, one hand at the top, the other at the bottom and see if you can rock the wheel. If there is quite a bit of movement, you need to tighten the bearing up a bit, if there’s none or only a slight amount, you’re good to go with refitting all wheel nuts, dropping the wheels back onto the ground and torquing up the wheel nuts. AL-KO recommends a torque of between 110-140Nm, depending on the type of wheel – see here for specific figures – however, other manufacturers will specify their own recommended figures. Wheel nut torques should be set using calibrated torque wrench and checked after the first 50km following removal and refitting.
MEET THE AUTHOR

Philip Lord
Phil is a long-term vehicle tow-tester and also the former owner of a 1979 Viscount Grand Tourer, which he restored before selling it to make room for his next project: a mid-1980s Windsor Windcheater.
Phil has been a motoring writer for more than 20 years. He has tackled most automotive and technical subjects throughout his media career, which has seen him contribute to such illustrious journals as Caravan World, Camper Trailer Australia, Wheels, 4X4 Australia and Motor.


