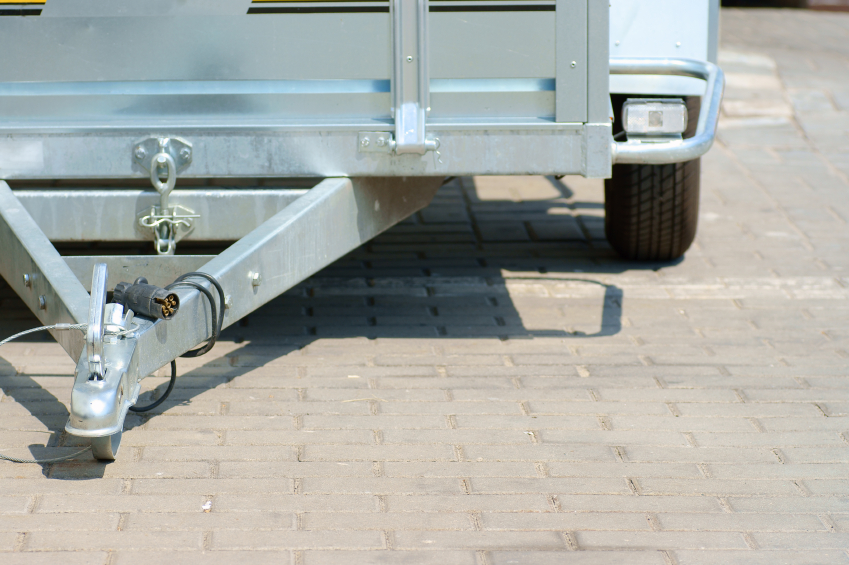
Next in our series on rebuilding your trailer, we look at the axle and suspension that have been stripped back as part of your preparation.
If you need to replace the trailer axles, you may as well look at upgrading the suspension at the same time. The last thing you want is for your new wheels to come off on the highway because a suspension component failed.
Replace or upgrade?
Depending on how you plan to use the trailer, you could just replace the existing axle beam with a new one or upgrade to an entire braked axle.
There have been a lot of improvements made to trailer suspension in the past few years, including independent units using leaf springs, torsion rubber, coils and airbags. Perhaps it’s more than you need right now, but an independent rubber suspension (IRS) axle system will follow you from dirt track to desert highways, as well as being resistant to saltwater.
Remember, whatever axle you install will need to match the dimensions of the trailer and its gross trailer mass (GTM). Likewise, if you’re upgrading to a system, the trailer springs and brakes should be compliant.
Installing the axle
We’re assuming here that you’ve already pulled your trailer apart and are ready to reassemble it. Please refer to the installation manual of your system if you’re installing anything other than a simple axle with leaf suspension.
- Have the trailer fully supported on jack stands before working underneath it.
- Slide the replacement axle into place (it’s good to have a friend help you with this as it can be heavy).
- Lift the leaf spring back into the mount and secure it.
- Mount the axle to the leaf spring using the supplied U-bolts and hardware.
- Finally, triangulate the axle, as incorrectly aligned axles can result in increased tyre wear or poor towing.
Replacing the springs
Leaf springs such as the Rocker Roller leaf spring suspension system will be attached with U-bolts to the axle, adjacent to the wheel hub.
The placement of your leaf springs is important – not so close to the hub that they rub against the tyre, but also not so far away that they become a leverage problem, possibly causing the axle to bend.
- Locate the hangers, the small metal extensions with holes that hang down from the frame.
- Line up the eyes of a leaf spring to the holes in the hangers and secure them in place with the bolts provided.
- Now attach the U-bolts around the axle and secure them to the metal plate that rests against the leaf springs.
Now you’re ready to replace the wheel hubs, bearings and tyres, which is the next step in our series.
Do you feel like you need to know more about your axle before starting?