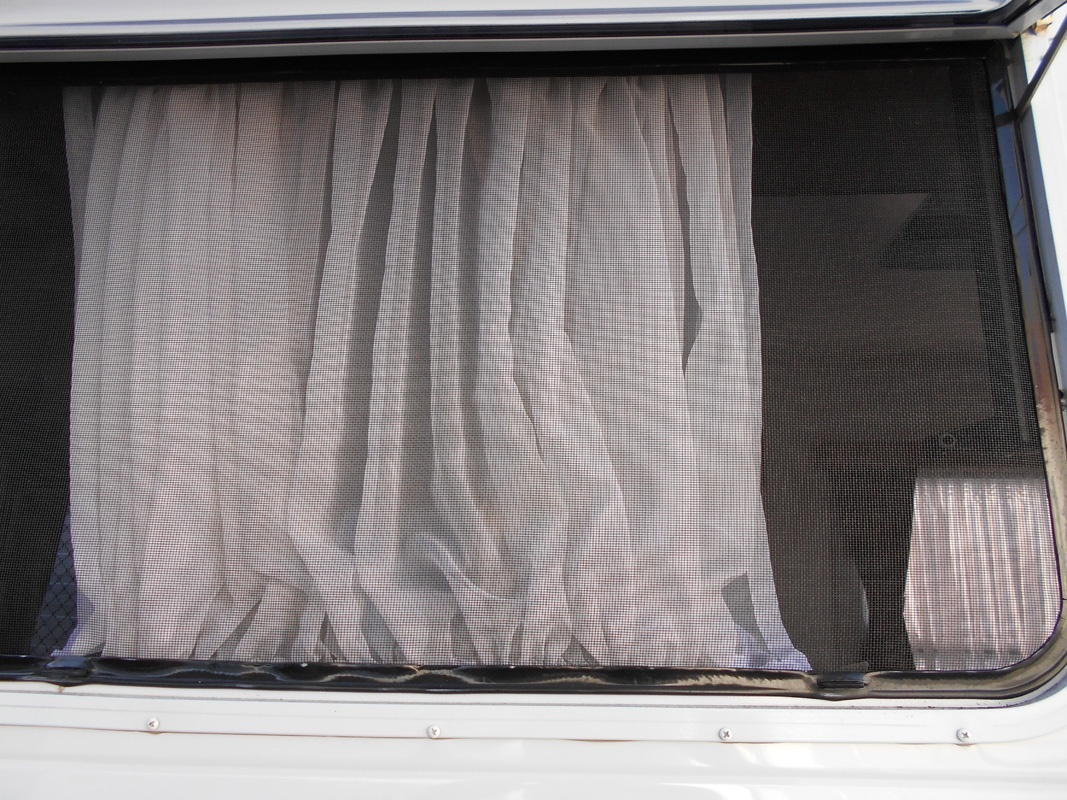
The humble fly screen is a necessity for any RV-er intent on a holiday free of an insect invasion. There is nothing more annoying than the continual ‘swatting’ of swarming flies, blood-sucking mosquitoes and while undertaking the camping trip of your dreams.
So it’s imperative to guarantee a bug/insect-free zone in your caravan, camper trailer or motor home. That’s why quick replacement of an RV fly screen is essential if the fly wire mesh tears or the rubber mould perishes.

Such fly screens are an integral part of the window – they not only repel ‘unwelcome guests or hands’, but also allow increased ventilation. Let’s face it, you don’t want to restrict airflow by having windows unnecessarily closed if your fly screen(s) require replacement.
They can even reduce your exposure to mosquito-borne diseases – particularly in tropical climes where heavy rainfalls and oppressive humidity provide the perfect breeding ground. Additionally, it’s inevitable that interior lighting will occasionally be required at night. At these times you certainly don’t want to attract those ‘little nasties’ into the RV. So here, we demonstrate the simplicity of replacing a caravan fly screen.
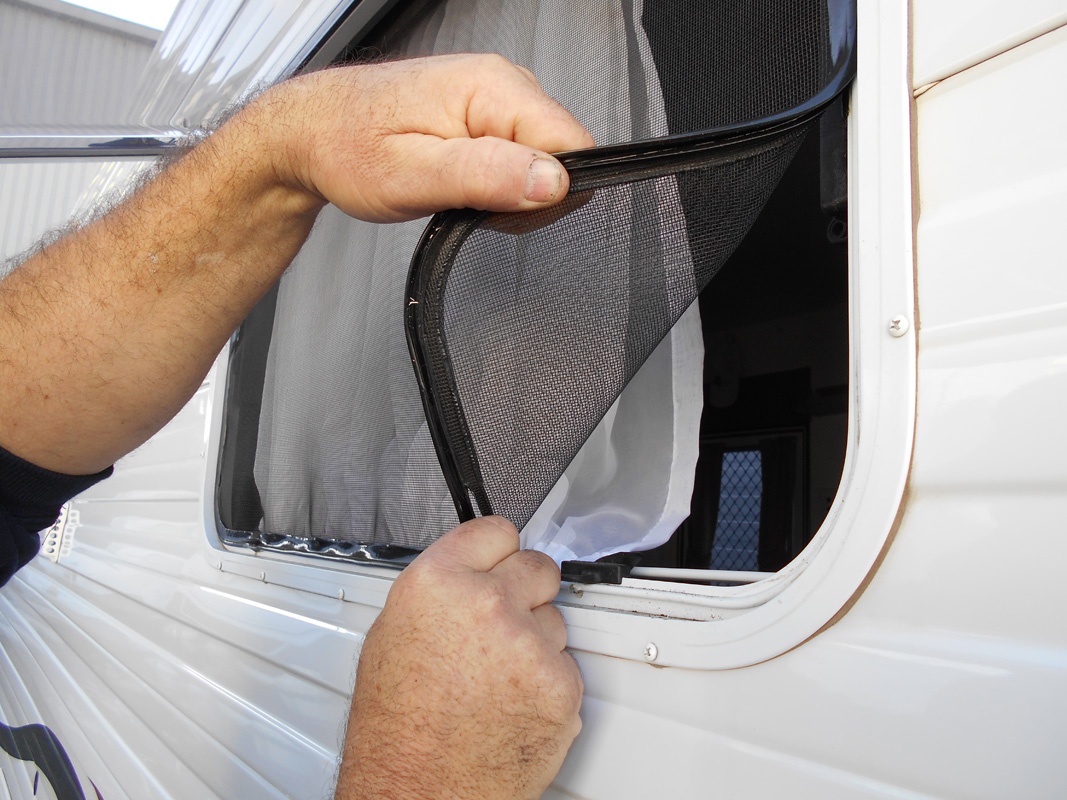
STEP 1: While inside, open the window. Once outside, with a screwdriver if necessary, lift a section of the rubber mould that’s attached to the fly screen.

STEP 2: Keep peeling the rubber mould away from the window frame.

STEP 3: The new fly screen comes with an attached rubber mould attached. Soak this in hot water to assist flexibility. Ensure the slits within the rubber mould line up with the window locks.

STEP 4: Reinstall by starting at the top left or right corner. Press the rubber mould back into the aluminium window channel.

STEP 5: Complete the top installation before moving down each side of the window.

STEP 6: With the top and sides of the fly screen in place ensure the lower section is positioned around the window locks.

STEP 7: Continue fitting off around the lower section of the fly screen.

STEP 8: Once initial fitting is completed, run your eye and your finger around the seal and push back any sections that may have released during installation.

STEP 9: A blunt end tool, like an old flathead screwdriver can assist in setting the rubber mould to the frame.

STEP 10: Use warm soapy water to clean off the area.

STEP 11: Open, close and lock the window to ensure the window operates correctly.


