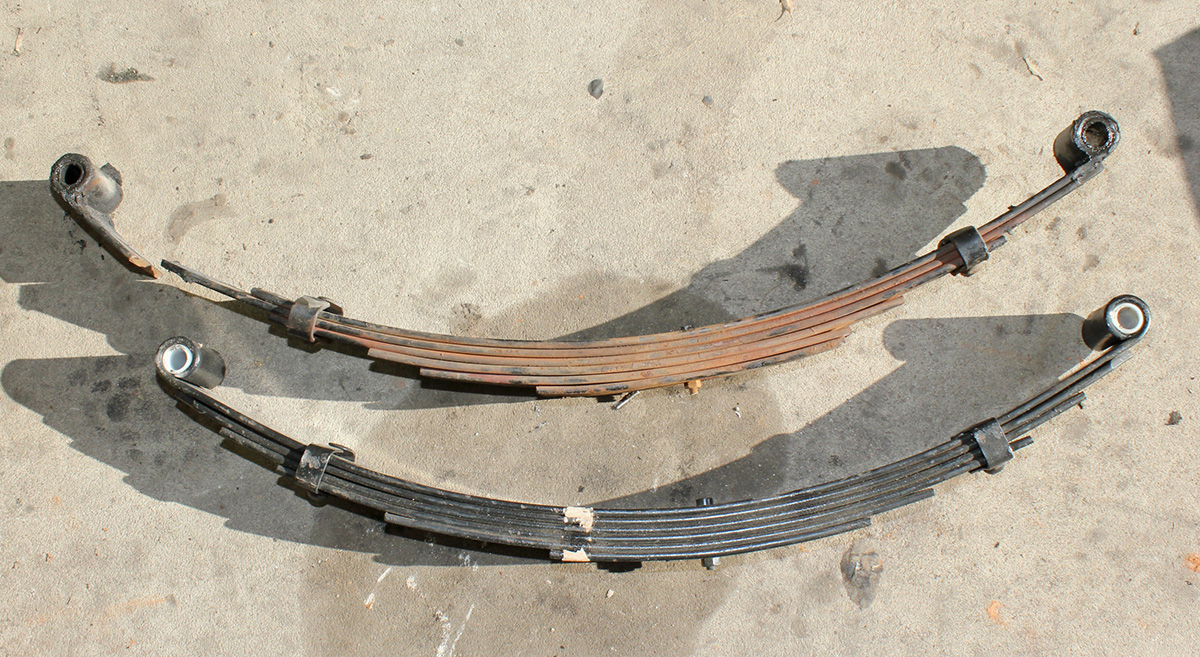
Leaf springs tend to be pretty sturdy for on-road caravans, in particular, but they are not completely trouble-free. Some will begin to sag and others will break a leaf. In either case, the leaf pack will need to be replaced.
This is a very simple job but the safety rules still apply – you’ll need level, firm ground to work on and you must use stands to support the van.
1. JACK UP THE VAN AND REMOVE THE WHEEL
With the van jacked up and then on stands, you remove the road wheel to get at the leaf spring pack. The wheel nuts are best loosened before jacking the wheel off the ground.
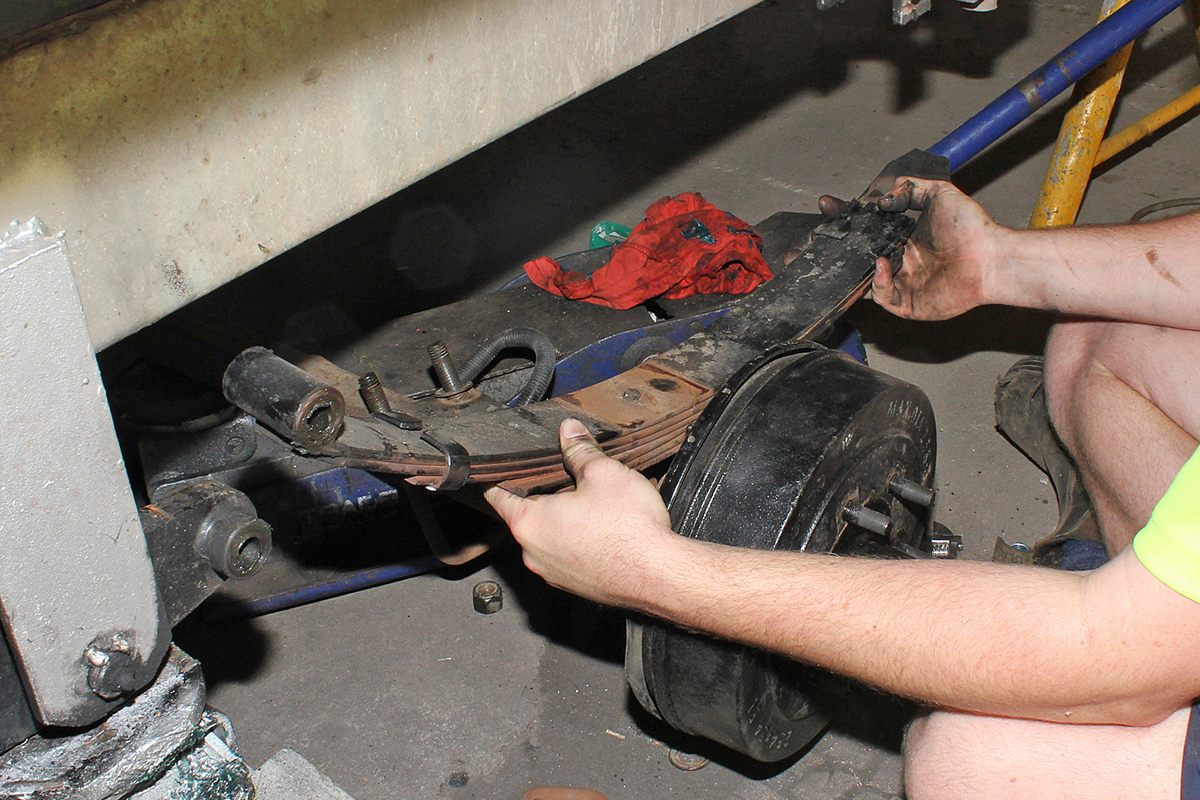
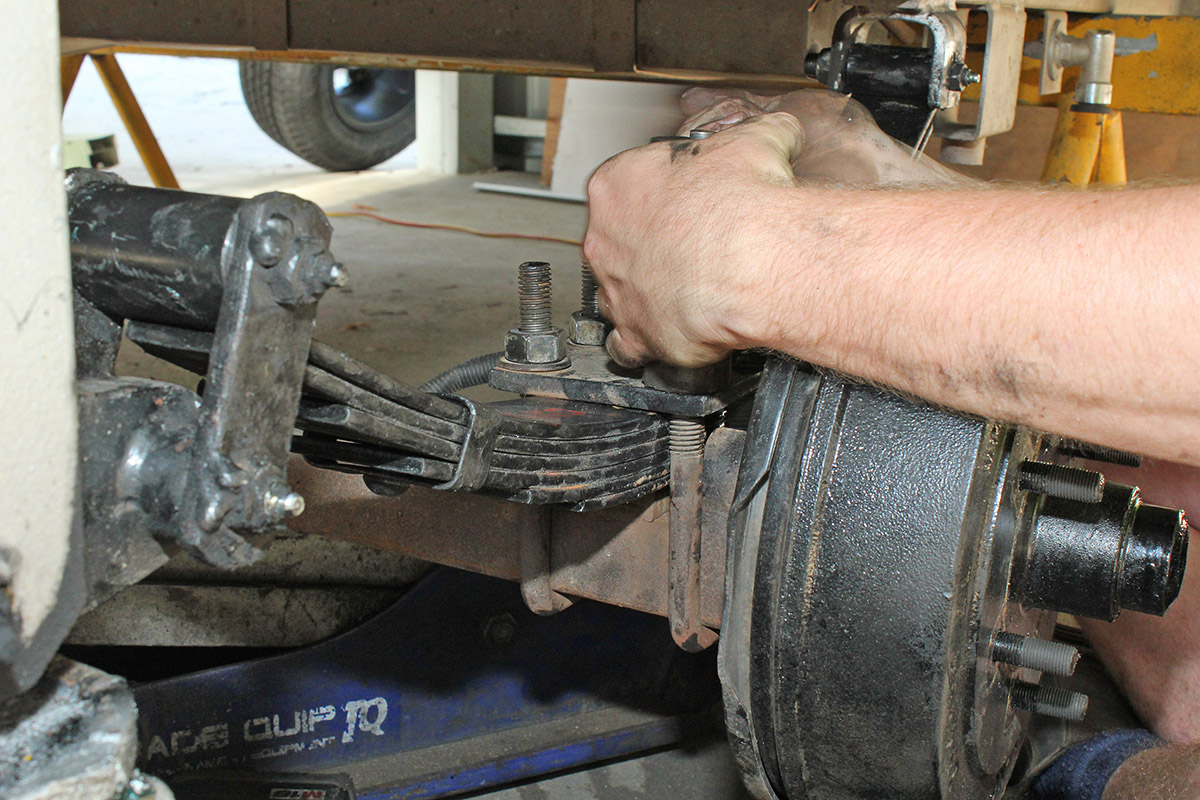
2. REMOVE THE NUTS SO THAT THE U-BOLTS AND PLATES CAN BE REMOVED
With the road wheel removed, the offending spring pack can be removed. First remove the nuts securing the U-bolts and clamps that secure the axle to the spring pack. You might find the U-bolts have a locknut (that is, two nuts threaded onto the bolt) as a safety net to ensure that the nuts do not loosen. Make sure you keep these as you must replace all lock nuts later.
3. WITH THE NUTS REMOVED, DROP THE U-BOLT OFF THE AXLE
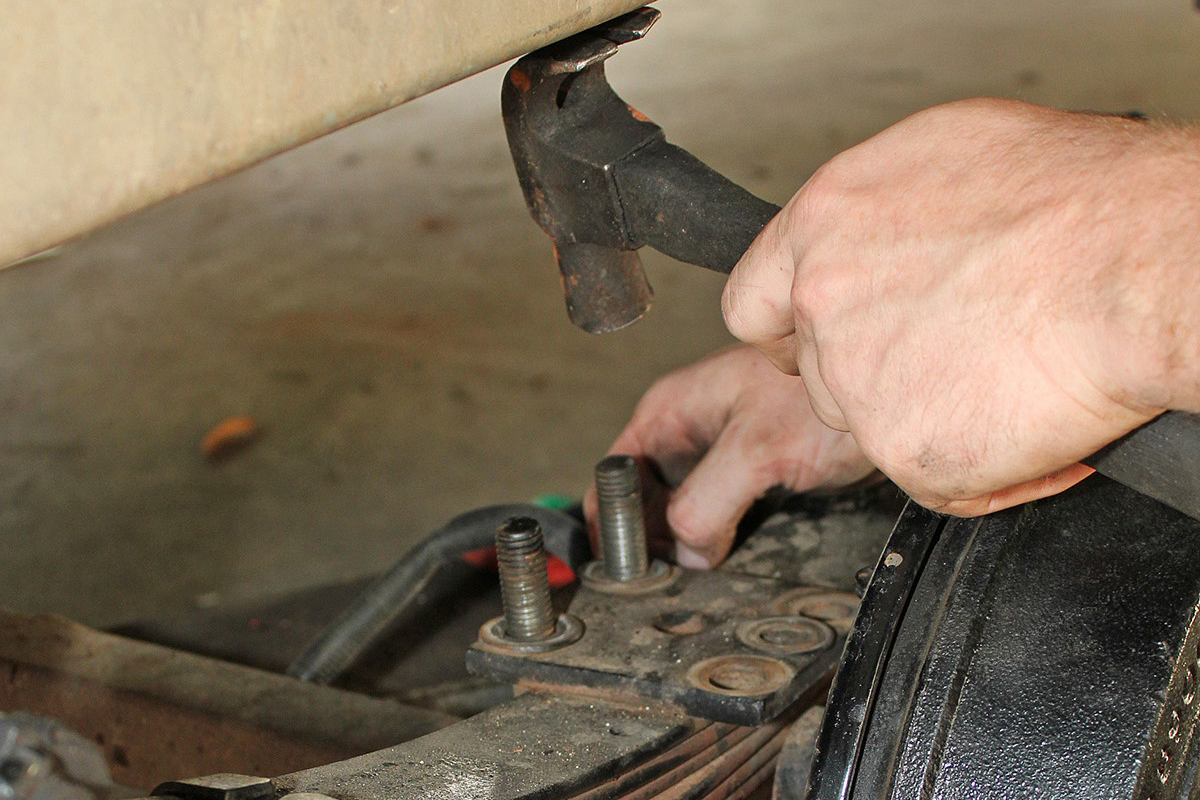
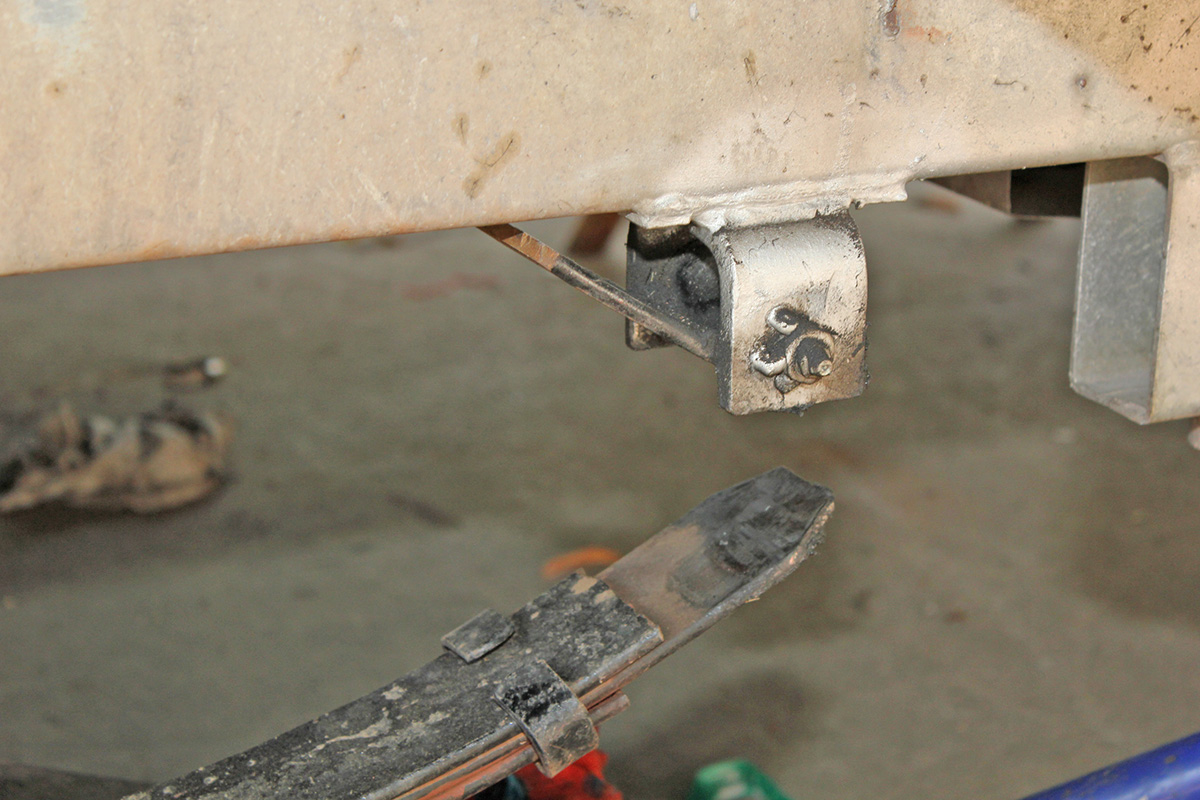
The U-bolts and plate should come off easily with the nuts removed. Then it’s time to tackle the leaf spring attachment points at the front and rear. This load sharing leaf spring suspension is bolted to a hangar on the chassis at the rear and on to the roller rocker load sharing pivot at the front.
Note: If you plan to reuse the existing bolts, be sure to protect the bolts when knocking them out. Use a block of timber, over the bolt and use an engineers hammer instead of a carpenters hammer. This will minimise the thread damage on the bolt.
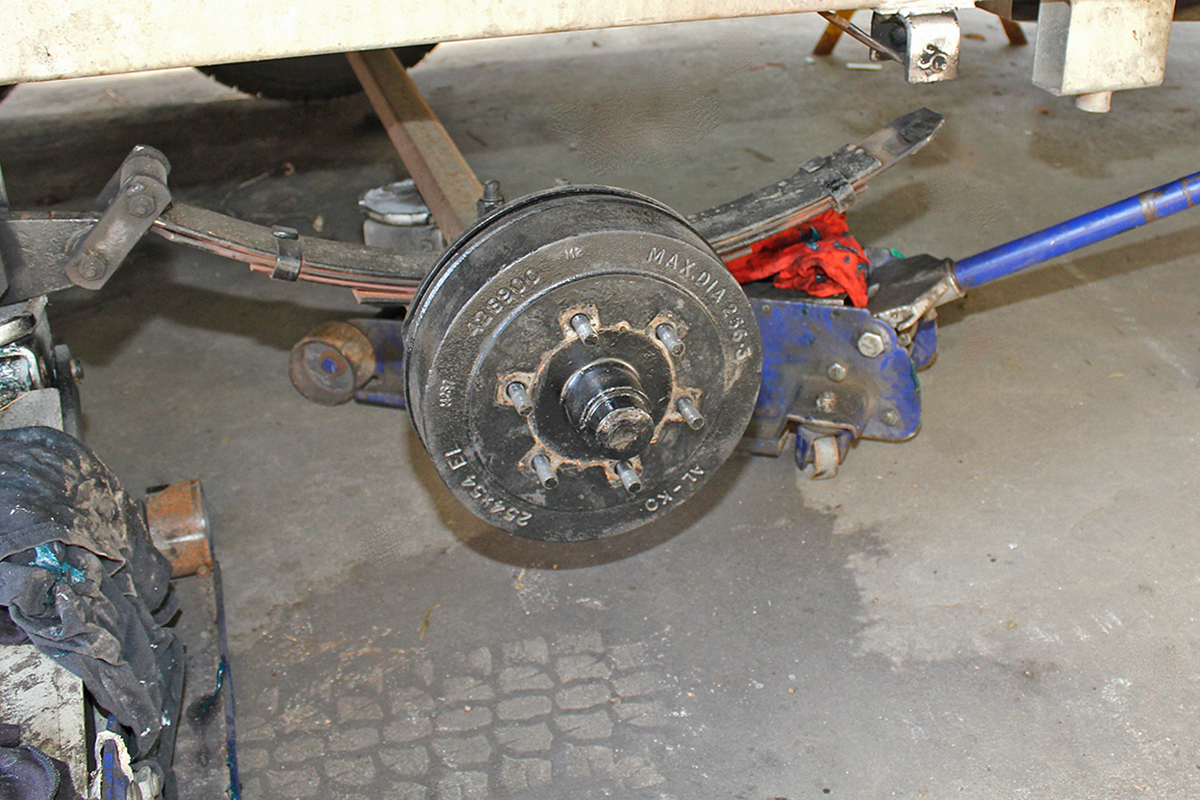
4. REMOVE THE NUTS AND BOLT SECURING THE LEAF SPRING PACK
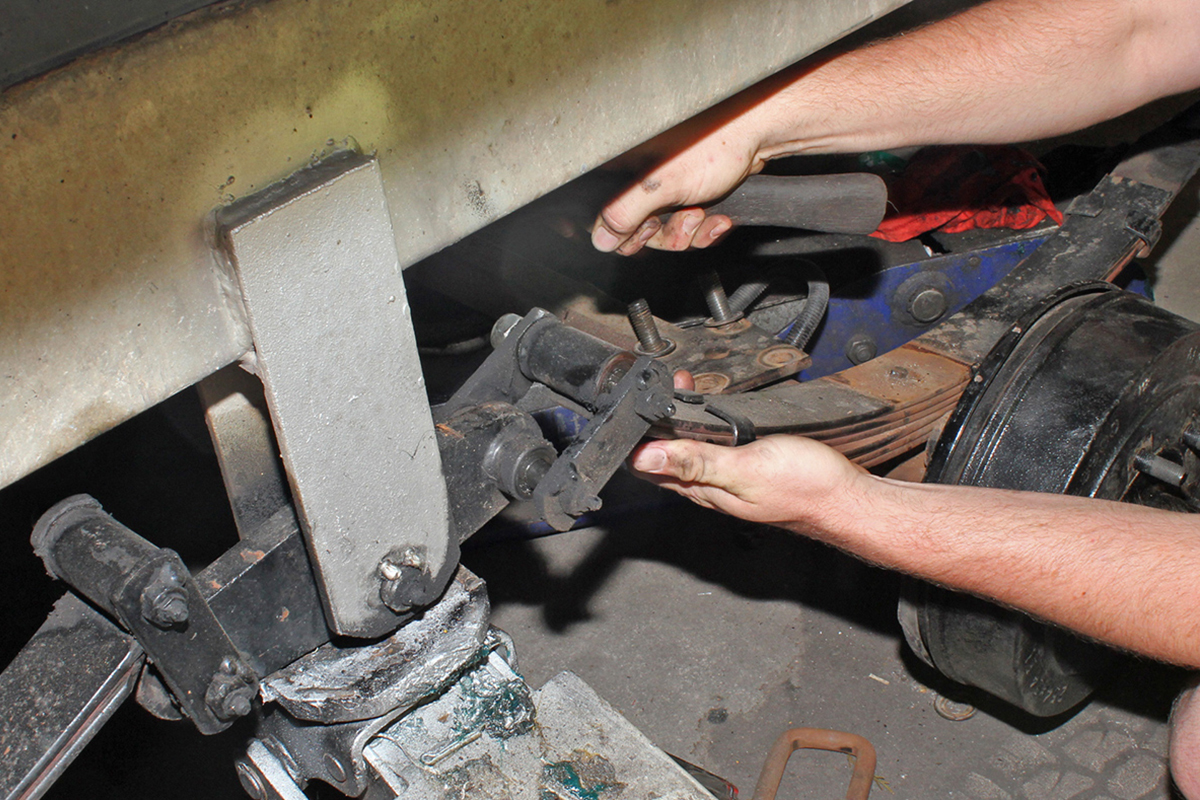
Simply remove the nuts and bolts securing the leaf spring pack. The bolts may prove reluctant to slip out of the hangars and will probably need a tap with a hammer to release them. With the bolts removed, the leaf spring pack should drop out and easily be removed.
5. BOLT THE NEW SPRING UP TO THE HANGARS
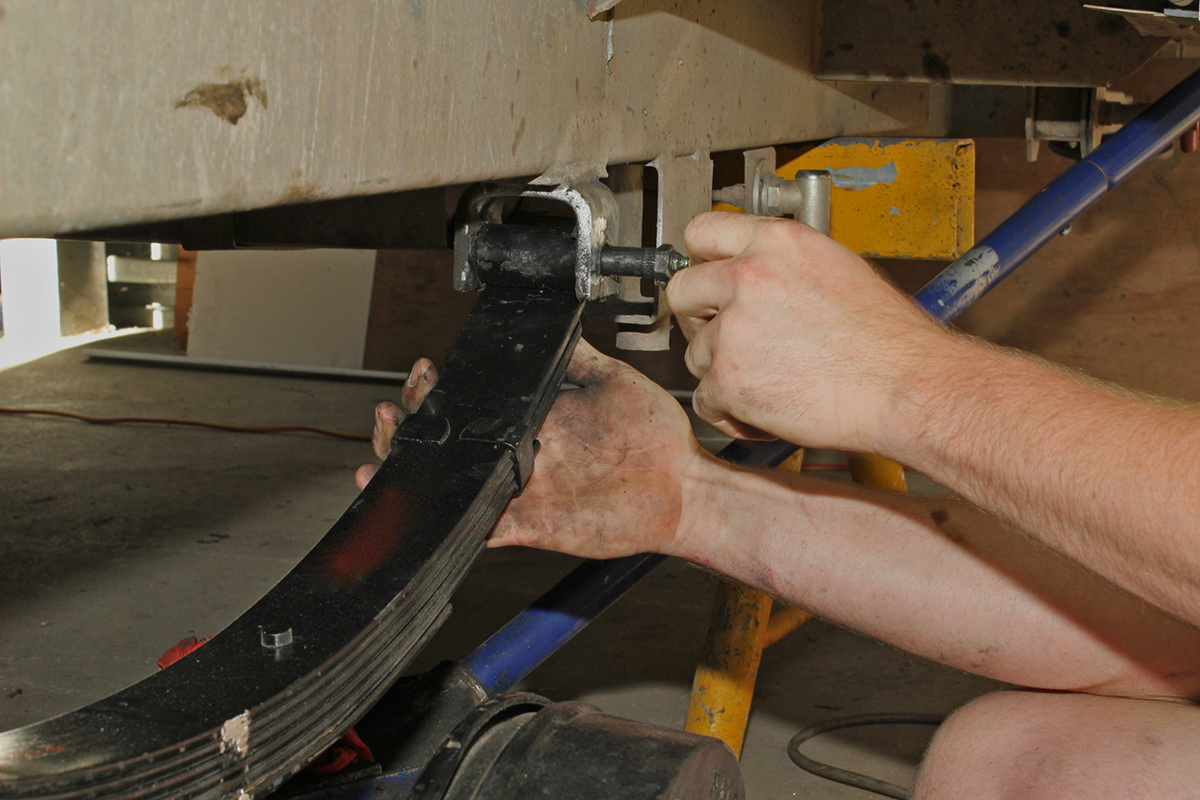
Fitting the new leaf spring pack is simply a reversal of the process.
The bolts securing the leaf spring pack at each end (at the eyelets) should be cleaned and regreased before re-fitting.
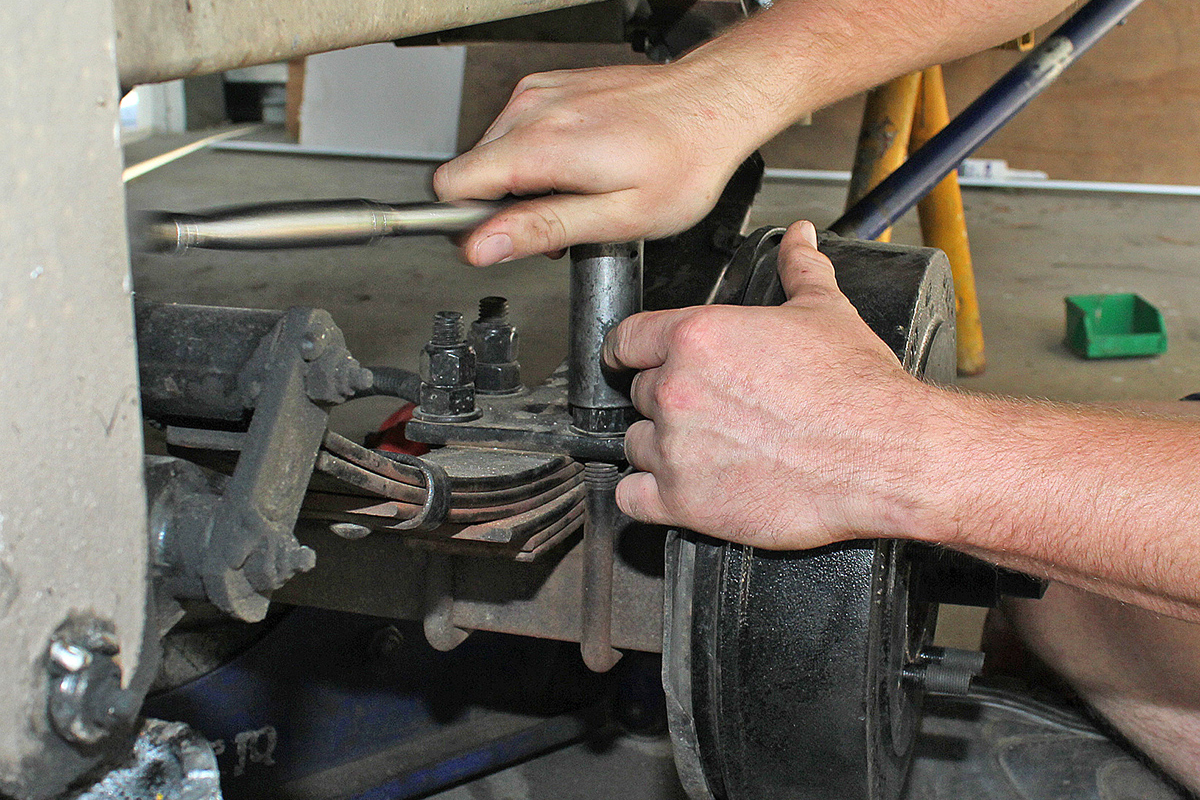
6. SECURE THE SPRING SET TO THE AXLE WITH U-BOLTS
The nuts securing the eyelets and the new U-bolts should be tight.
7. MEASURE THE AXLE TO ENSURE CORRECT ALIGNMENT
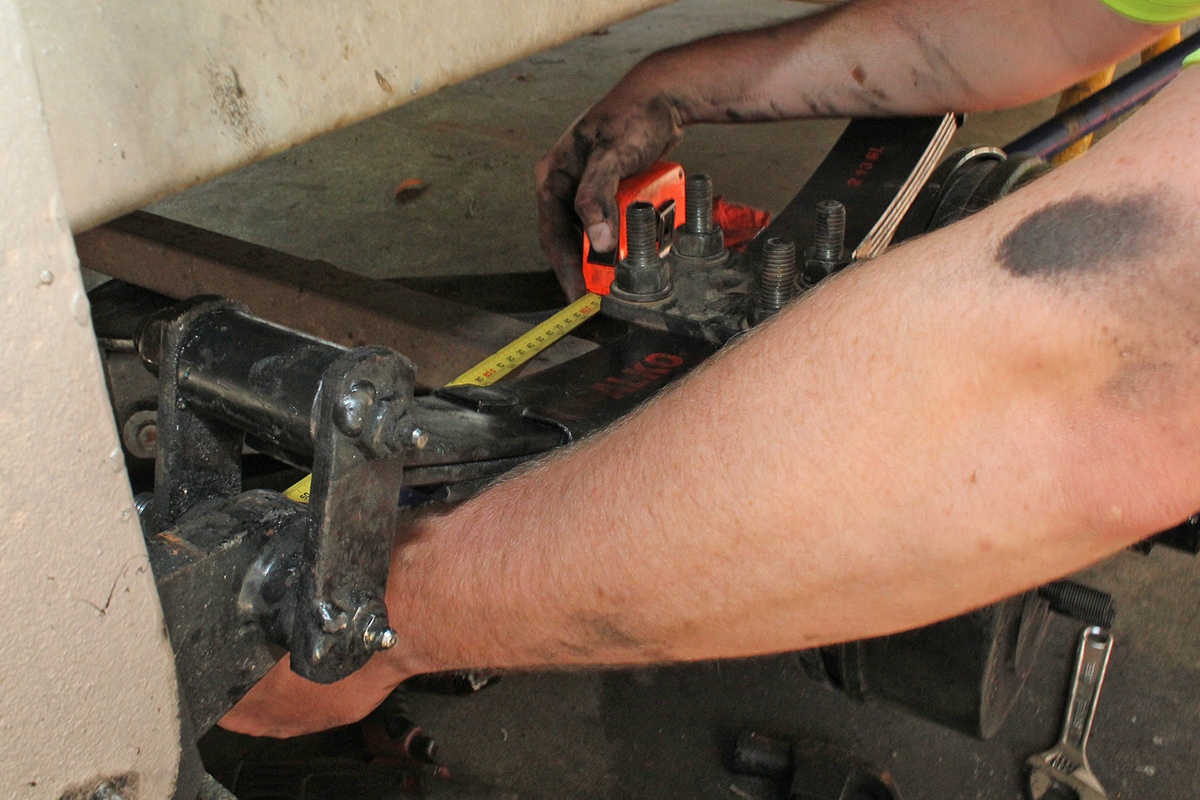
The new leaf spring pack needs a few checks to make sure the axle is aligned. If the axle is not tracking true, tyre wear will be uneven on the van.
8. REFIT THE WHEELS AND TORQUE UP THE NUTS
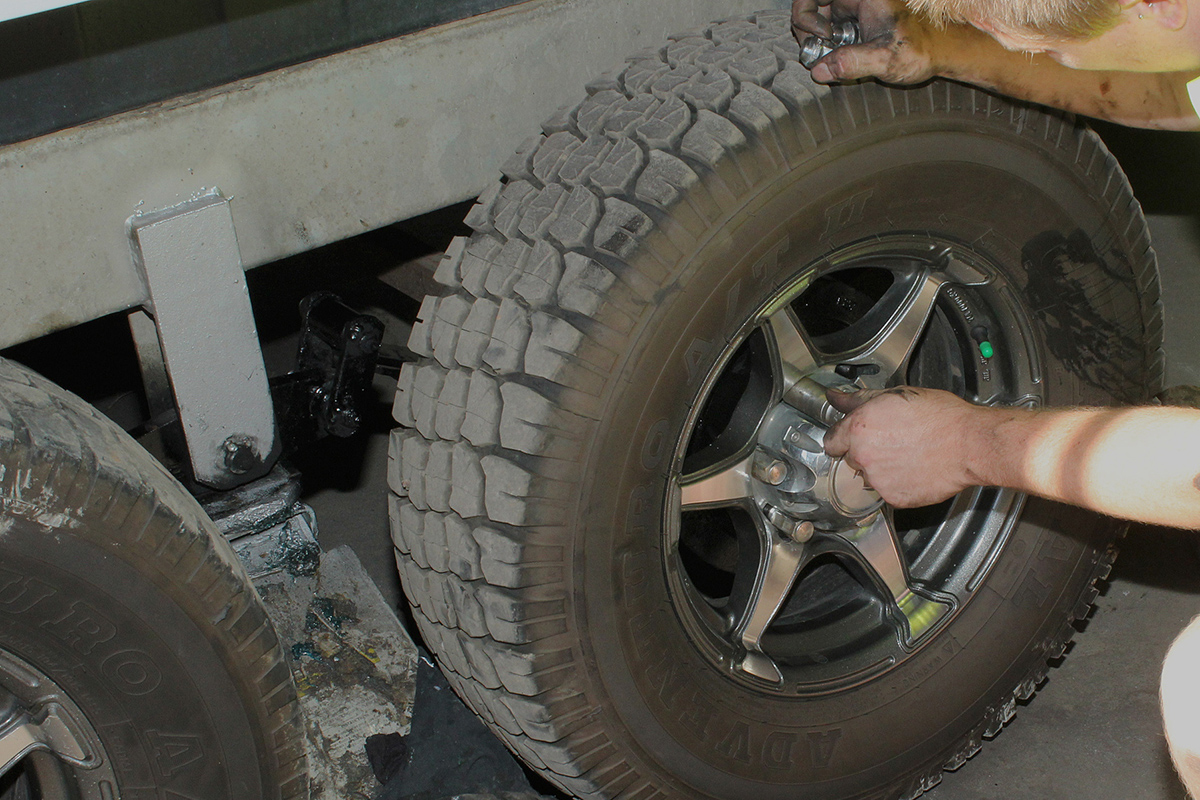
All securing points on the spring should be re-checked after 1000km.

MEET THE AUTHOR
Philip Lord
Phil is a long-term vehicle tow-tester and also the former owner of a 1979 Viscount Grand Tourer, which he restored before selling it to make room for his next project: a mid-1980s Windsor Windcheater.
Phil has been a motoring writer for more than 20 years. He has tackled most automotive and technical subjects throughout his media career, which has seen him contribute to such illustrious journals as Caravan World, Camper Trailer Australia, Wheels, 4X4 Australia and Motor.