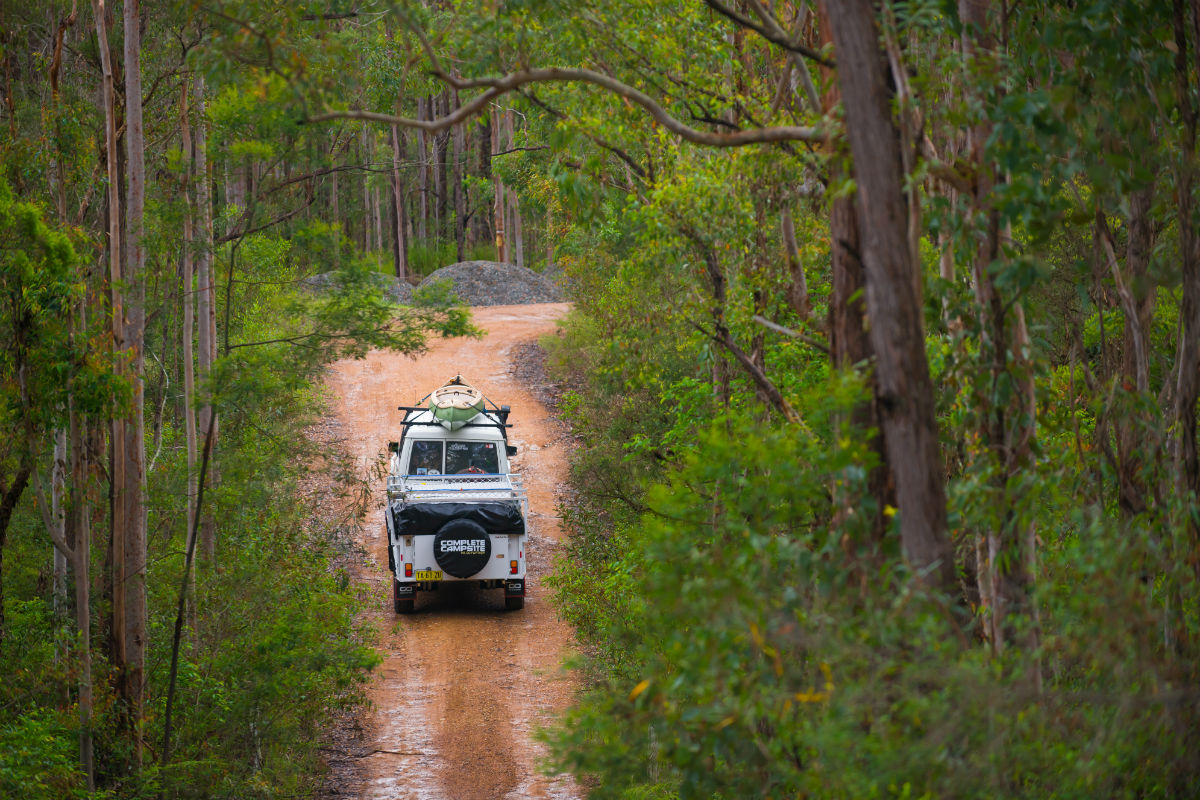
Some bush mechanics resemble a kid in a candy store when it comes to a new camper trailer project. But if you’re not all that handy on the tools, you can still give your camper the VIP treatment after a few trips away, or if it has been constantly left out in the weather.
We’ve got 10 great DIY maintenance tricks to keep your camper road-ready and in good condition.
1. RUST-PROOFING
Rust (iron oxide) is a reddish brown peril. It weakens your camper’s structural integrity and is time consuming to fix.
Steel corrodes when it’s exposed to oxygen and water, but with good maintenance you can slow the process.
A camper’s drawbar and chassis are susceptible to rust, but you can halt the threat by washing it down after a beachside holiday. Meticulous attention should be paid to the underbody and any areas prone to a build-up of sand and water.
Additionally, any stone chips and scrapes that damage the camper’s paintwork will encourage the development of rust and should be promptly repaired.
You can also protect against rust by applying surface agents such as fish oil, lanolin and wax-based treatments.
2. LEAKY SEALS
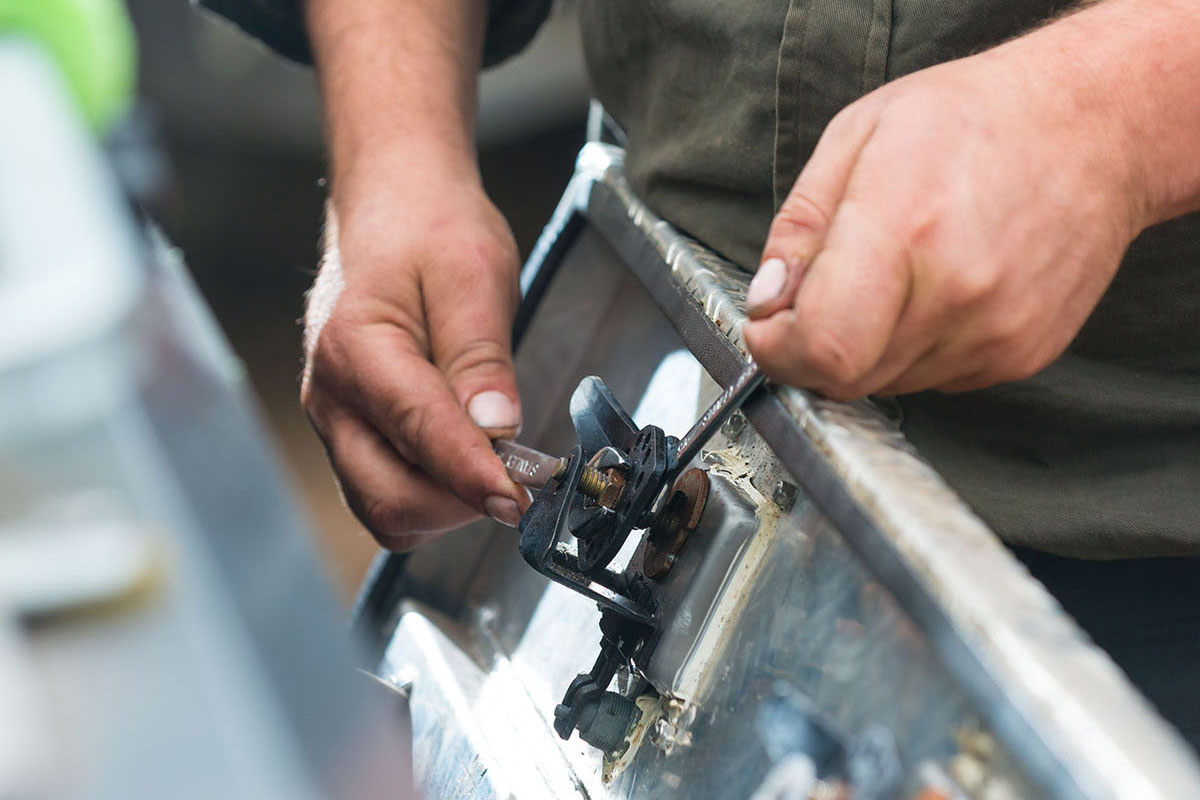
Water damage at the rear of a camper can be due to the rear tailgate not sealing correctly. Sometimes you can follow the leaked water stains right up to the seal.
Primary reasons for the leak are usually that the seal is damaged or incorrectly positioned, or the seal is not compressed enough to seal up properly.
It’s as simple as adjusting the latches position up or down the thread. Going down the thread will generally pull the door closer (tighter) to the seal and going up should loosen it up a bit. Ideally, you want the door to compress the seal down fairly tight in order to close and lock into place, but still allow a slight amount of movement.
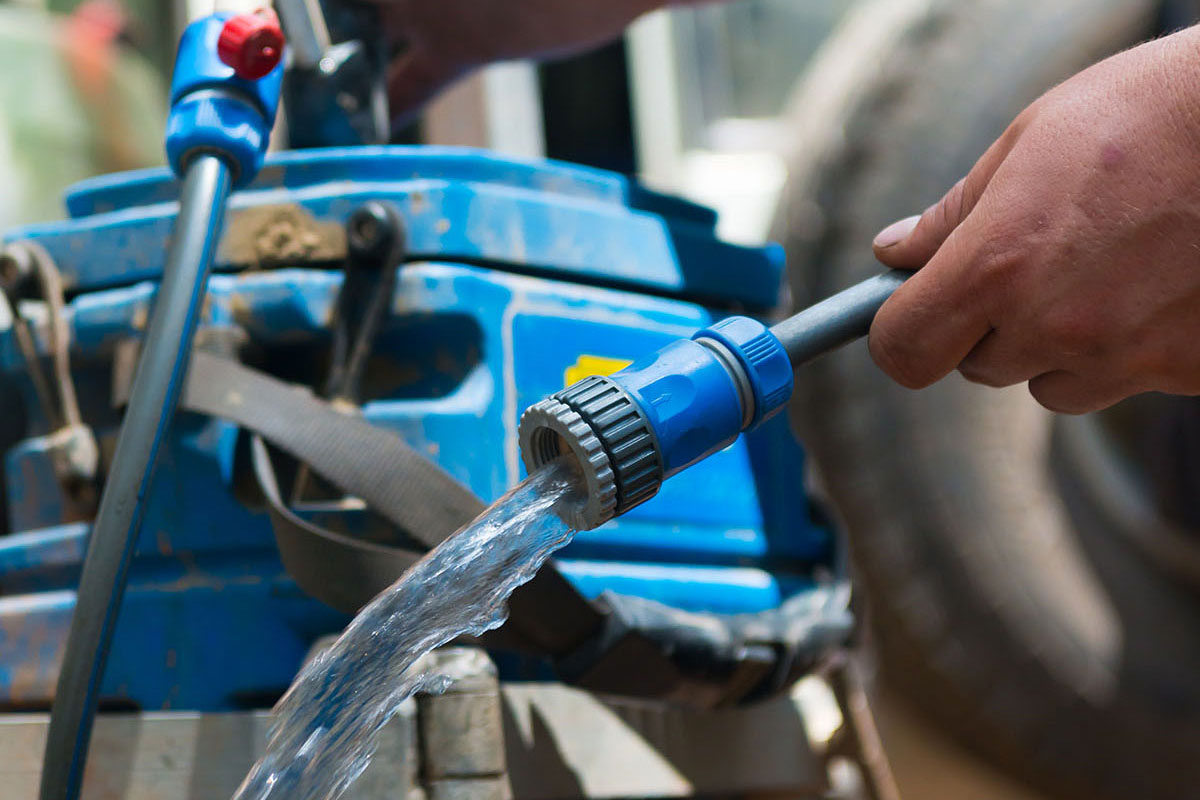
3. FLUSHING WATER TANKS
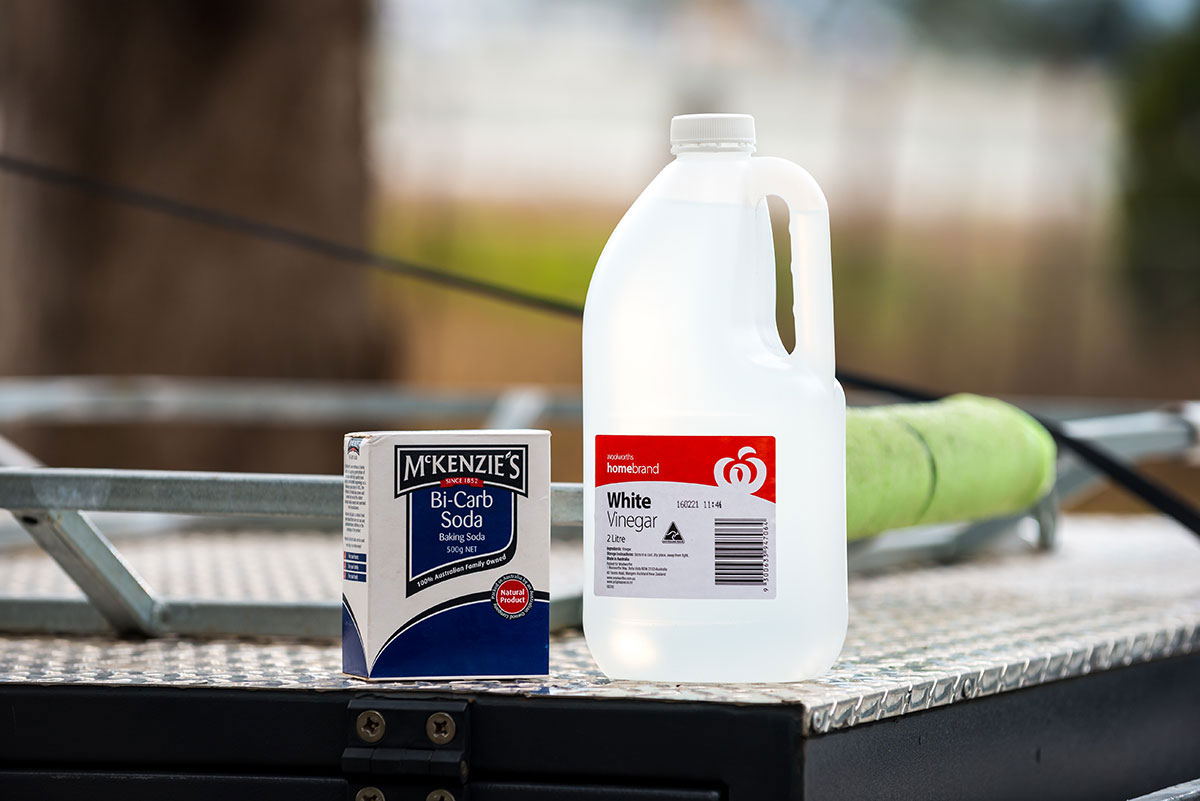
There are several options for flushing the water tanks – from household bleach to a mixture of bicarbonate of soda and vinegar, and even the Milton baby bottle steriliser.
Sterilising the tank can be achieved by mixing a quarter of a cup of bleach with a few litres of water in a bucket, then adding it to the camper’s water tank when empty before filling it up with fresh water.
It’s also advisable to run the outlet taps for a minute or two so the mixture gets flushed through the lines and then leave it sitting there for a few hours before flushing the system with fresh water. You can rid the strong smell of bleach by mixing about half a cup of baking soda with a few litres of water and adding it to the fresh water tank.
Vinegar and baking soda is not as effective as bleach in terms of sterilisation, but it’s a good way to keep it maintained. Add about a cup of baking soda to a few litres of fresh water in a bucket and pour it into the water tank, which should be only half full to allow for the chemical reaction when you add the vinegar. Make sure you also leave the taps and the filler tube open for the air to escape.Then tow the camper over a few bumps and flush it out with fresh water when you get home.
4. BATTERY CHECKING
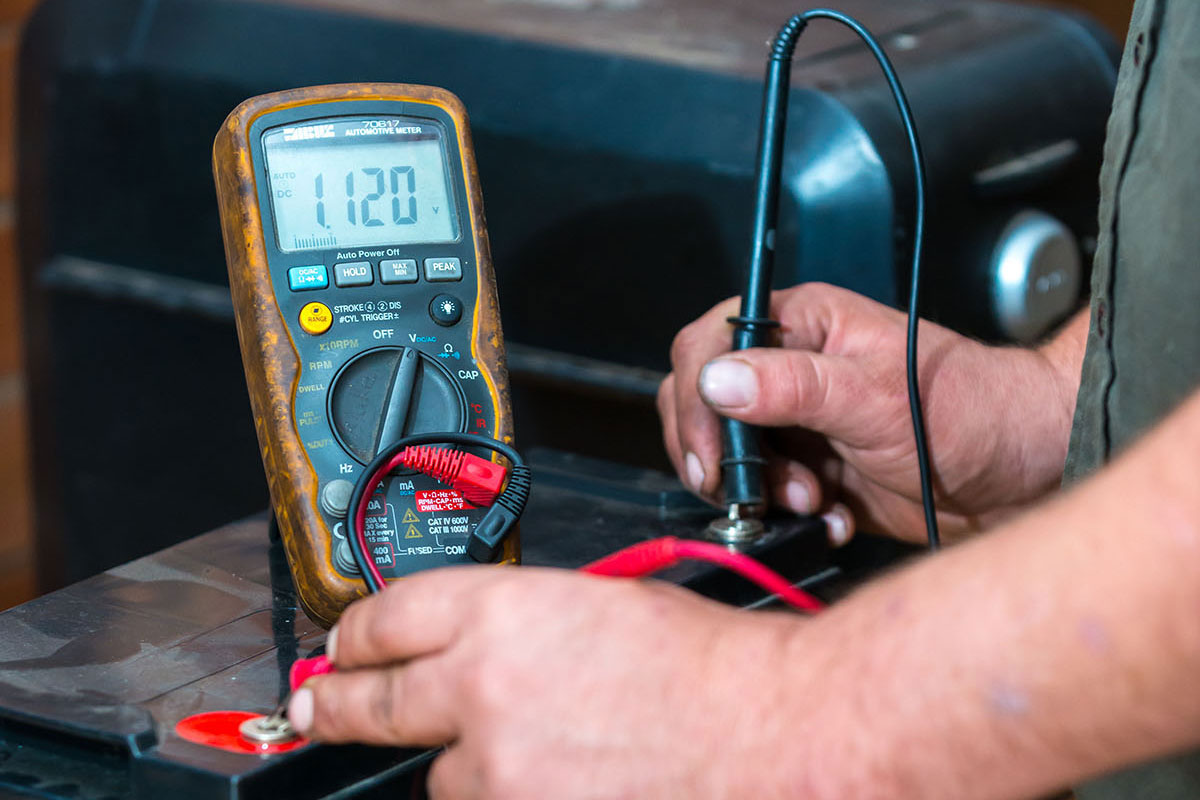
A bad battery can be diagnosed by using a multimeter to check the voltage. If a battery reads zero volts it’s indicative that a short circuit has occurred and you’ll require a replacement.
If you detect the top of the battery is bulging, it’s more than likely been overcharged at some stage. A cracked battery should be discarded for safety purposes.
And if you suspect a battery is faulty, get it load-tested to ensure it’s doing its job.
5. GAS INSPECTION
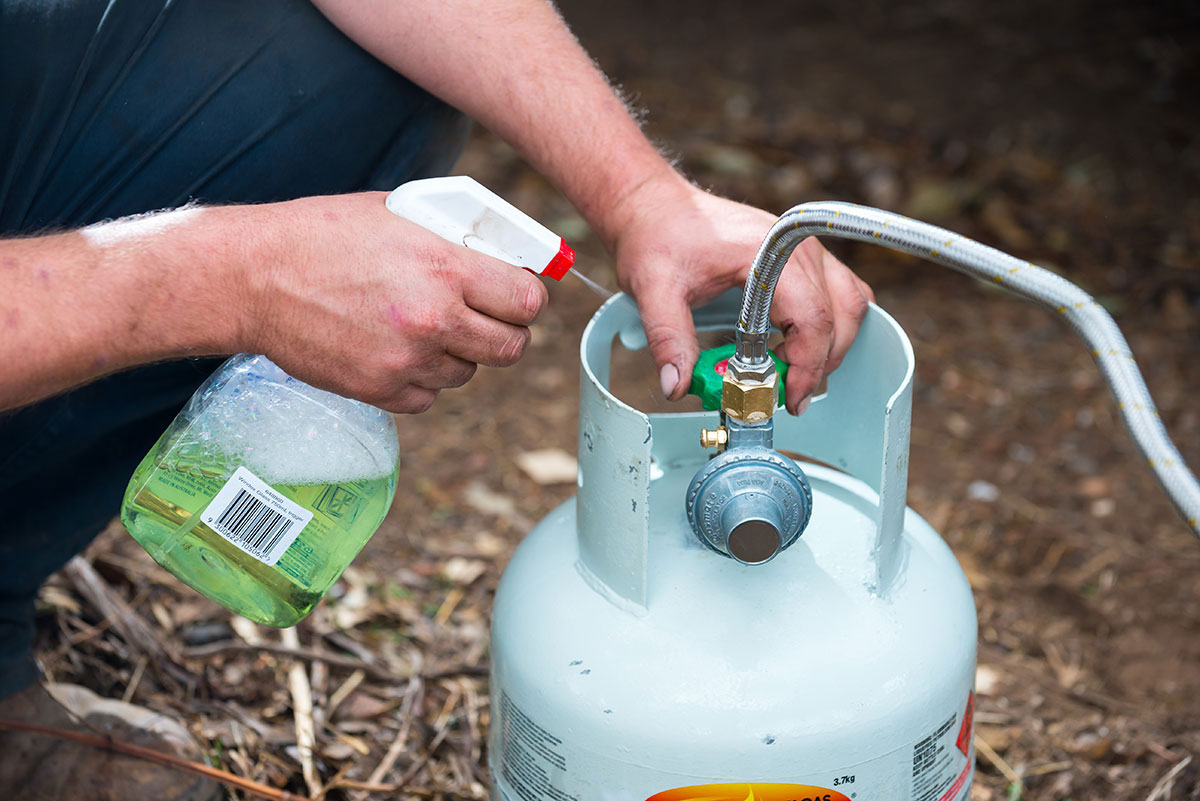
Regularly check all the gas connections and fittings for leaks, especially when you’re using the cylinder for the first time.
When checking for leaks, spray soapy water over the fittings, turn the gas on, and if any bubbles appear, tighten the fitting. You may also need to apply some plumber’s thread tape to the fitting’s thread. It’s also worthwhile checking the hose for any damage too.
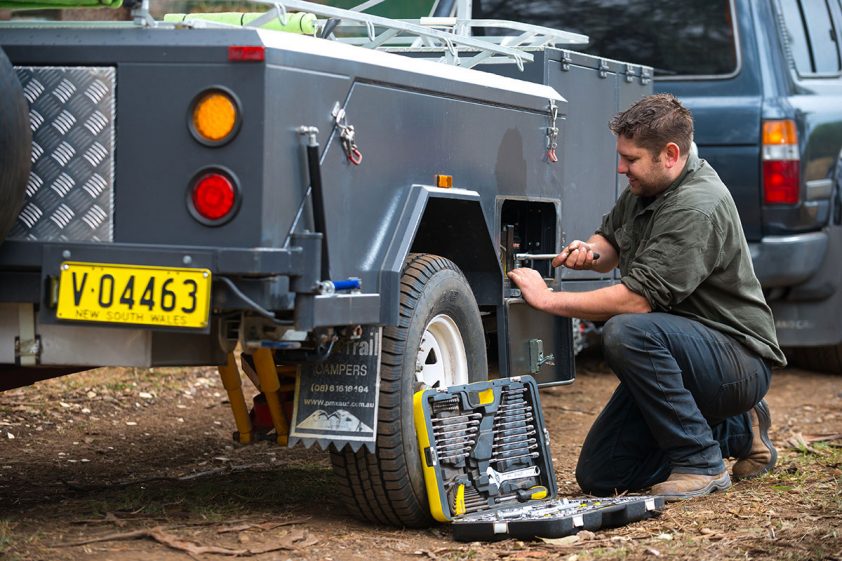
6. REPLACING WHEEL BEARINGS
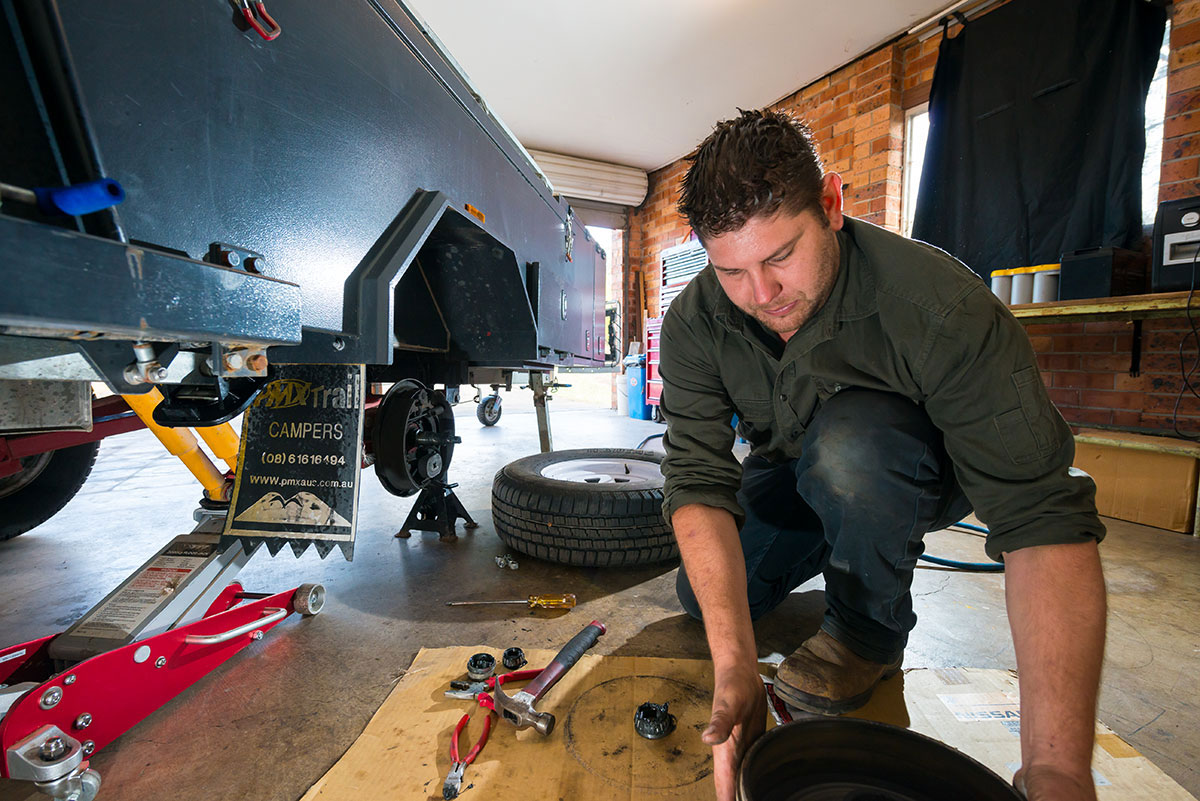
Wheel bearing maintenance is imperative. A busted wheel bearing will guarantee a campertrailer comes to a grinding halt.
You can also upgrade from standard hub seals to marine seals, and fit bearing protectors to ensure the bearings is spot on. And adjust the brakes while you’re at it! If you don’t feel competent m be sure to see a qualified mechanic or RV service technician.
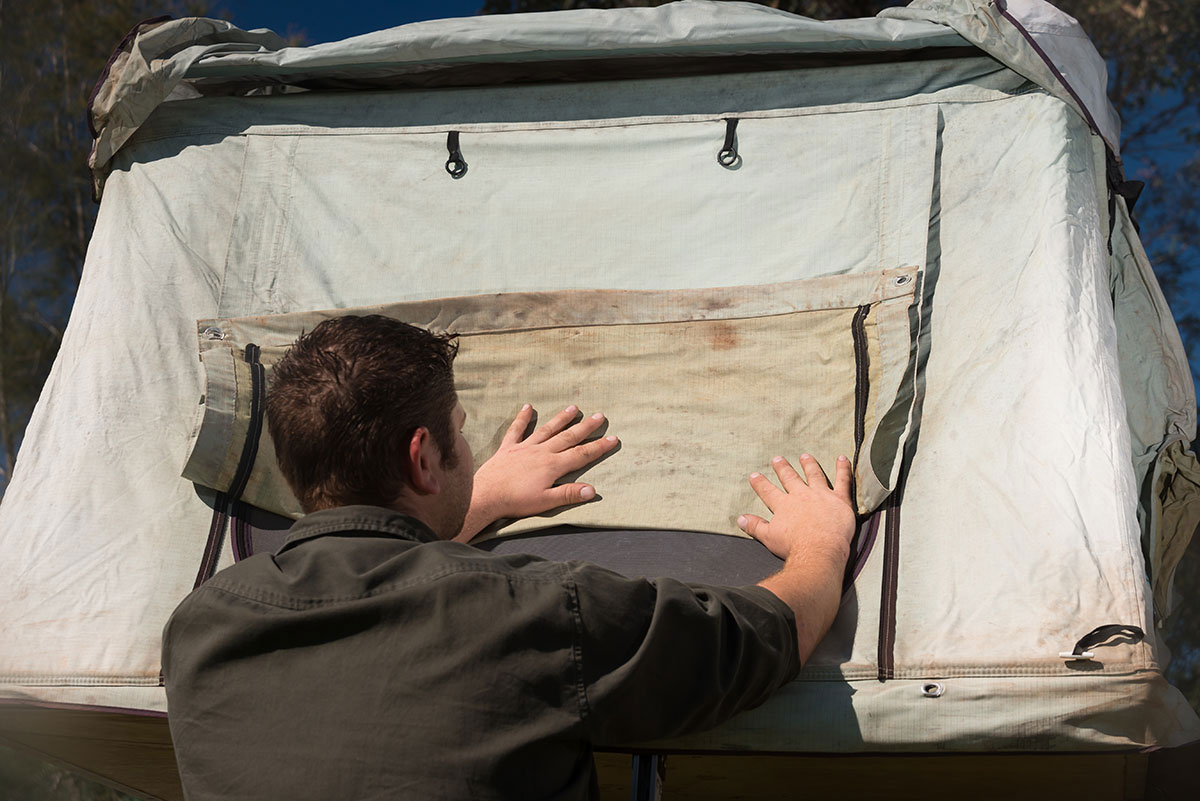
7. THE BIG WET
Wet down your canvas at least twice a year with a garden hose. Not only will it stop irreversible damage from dirt and debris, but it will keep the canvas odour free – and waterproof!
It will also ensure the tent is watertight. Water and humidity can swell up the fibres and seal any gaps in the weave of the canvas.
But do NOT use detergents, soap or solvents on the fabric – a clean cloth or medium brush combined with cold or lukewarm water should be sufficient to remove any grime.
8. KILLING MOULD
There’s plenty of simple and cost-effective tricks to rescue your canvas.
Opening the tent up and airing it in direct sunlight will certainly kill mould. Let the mould dry out, then simply brush it off with a hard bristle brush or run a vacuum over it to get rid of the remaining spores.
Some off-the-shelf products will remove mould but at the same time damage the waterproofing and/or sun protection of your canvas. A far less invasive method is to mix 20-50ml of white vinegar per litre of water, then spray it on and scrub it with cloth or a hard bristle brush.
9. LEAK REVISITED
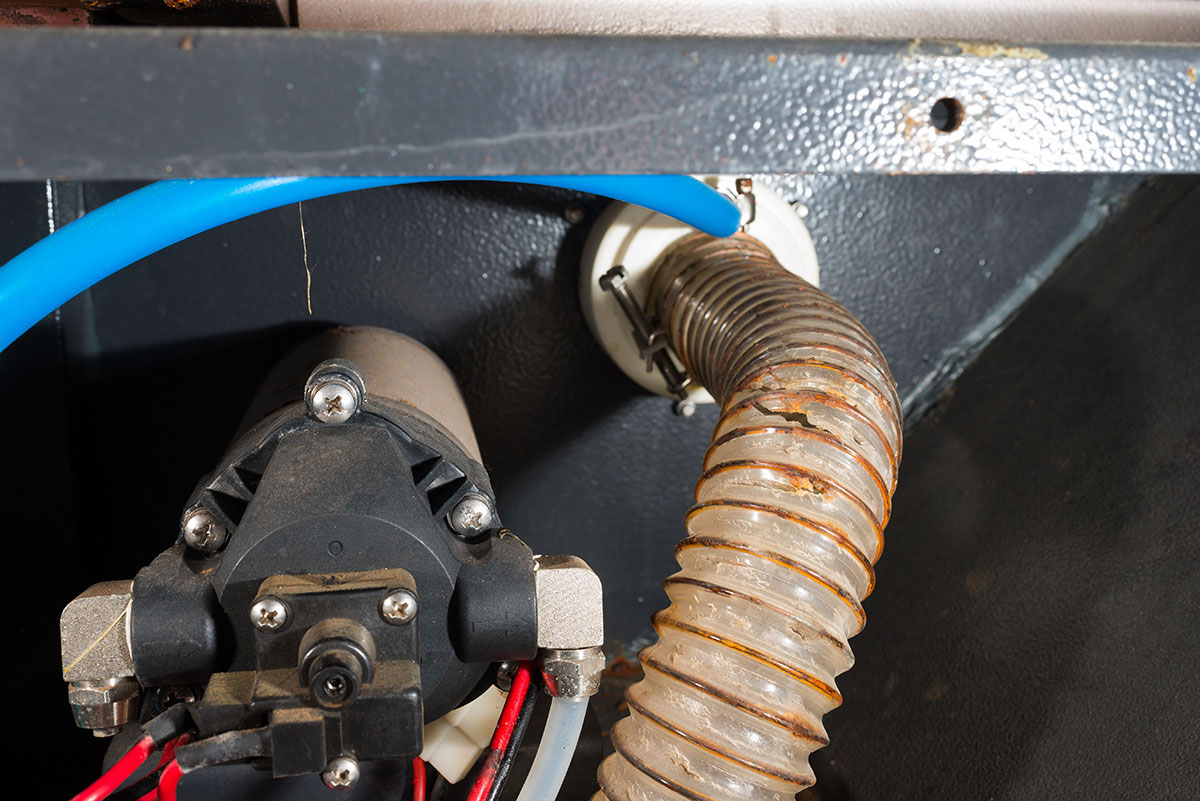
A water leak at the rear of the camper trailer can prove a dilemma. Occasionally you have to delve deeper than just a few dust seals.
It’s also advisable to check the water tank’s filler tube. You don’t want to be filling up the water tank and the back half of the camper trailer too!
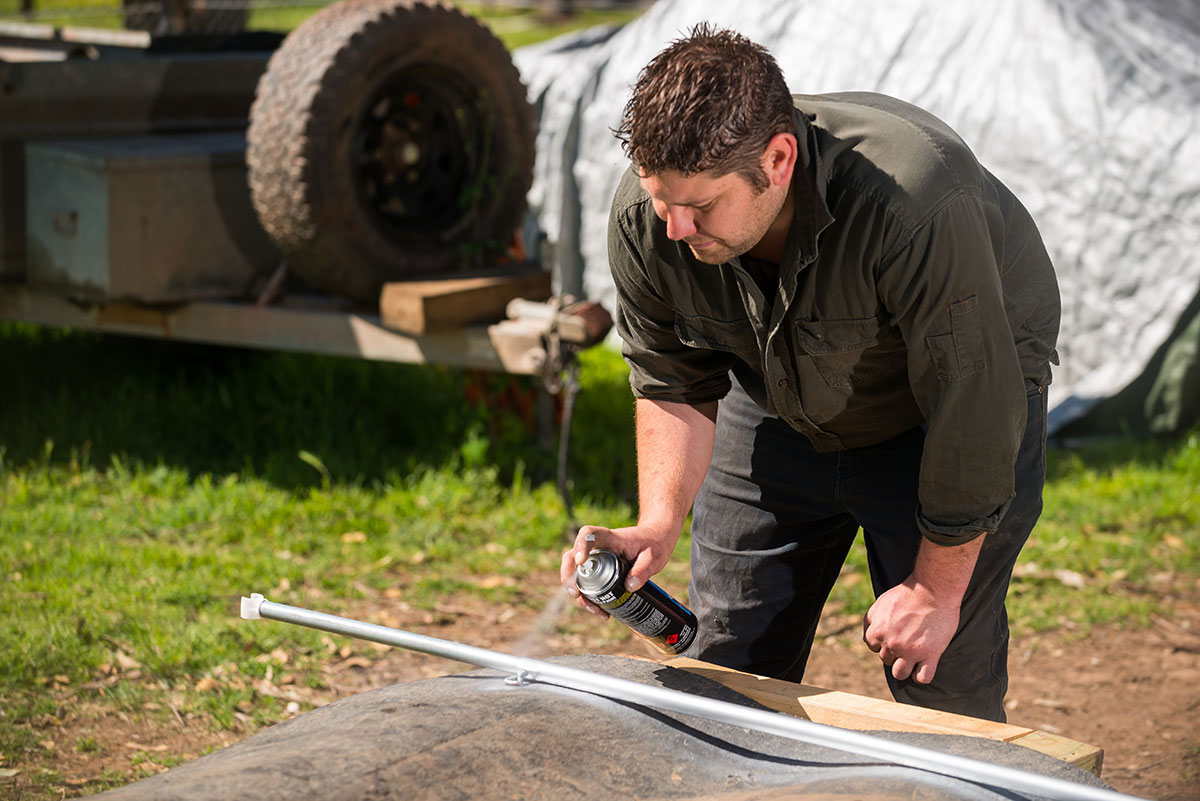
10. EARLY SIGNS OF CORROSION
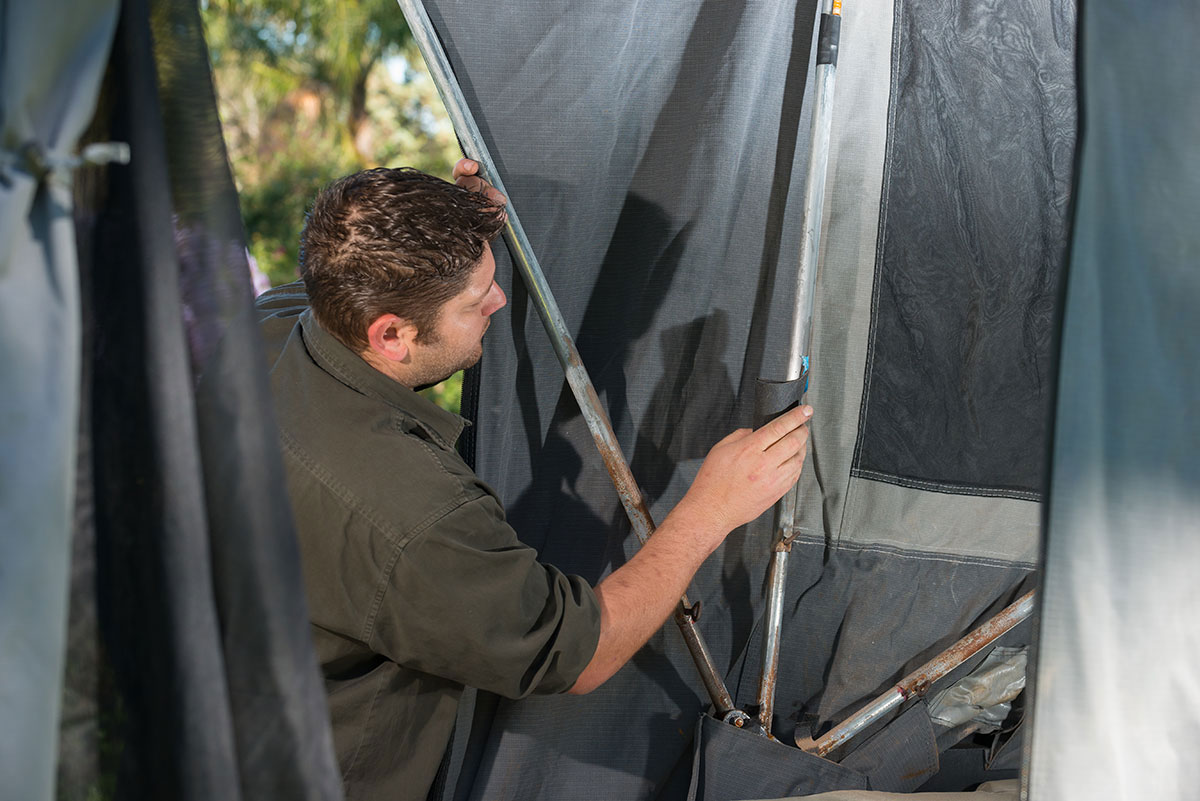
A rub down with sandpaper or Scotch-Brite, followed by a coat of Rust Guard, will ward off the early signs of corrosion due to moisture damage.
Similarly, a spray of WD-40 on tent poles with threads on the locking screws binding up will keep the ‘red menace’ at bay.
And little things mean a lot, like swapping out any rusted mounting screws with stainless steel replacements.
You’ll save a lot of money by learning new DIY skills. And you don’t have to be a hands-on genius.
Giving your camper trailer a makeover will also increase its resale value.
MEET THE AUTHOR
Peter Quilty
With more than 30 years’ journalistic experience, Peter’s brief predominantly centres on editorial reviews for Caravan World and CamperTrailer Australia magazines.
A relative late starter to the trials and tribulations of the RV industry, Peter has been making up for lost time caravanning and camping with his family around Victoria. Initially, Gippsland was the primary stamping ground free camping in idyllic bush settings such as Dargo and Licola, beside the Wonnangatta and Macalister rivers respectively. Other favourite haunts also became ensconced on the family camping itinerary – Jamieson in Victoria’s High Country, Whitfield in the King Valley, Princetown on the Great Ocean Road, and Bright in the Ovens Valley.