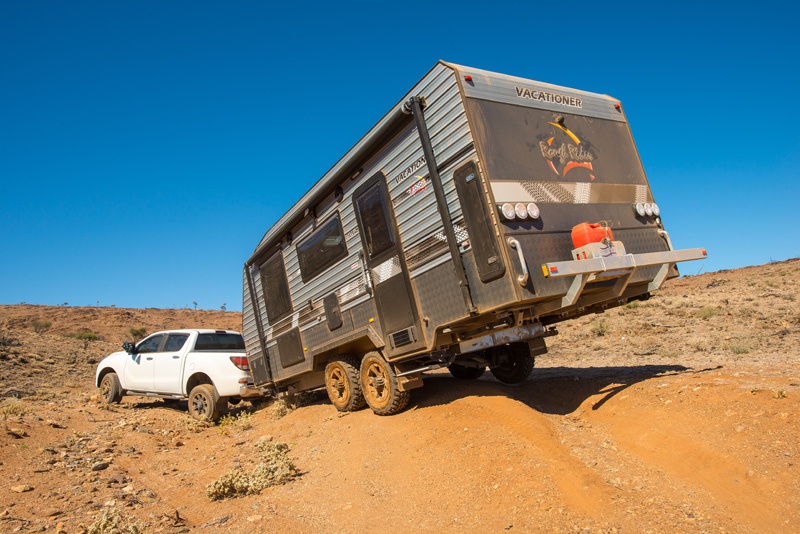
Camper trailers are built tough, and most are taken places where caravans have no hope of surviving. Despite this, you’re likely to experience one or two issues on your various journeys. We spoke with Jeremy Perks, director of Global Gypsies Tours and Training, an award-winning touring and 4WD training company based in Perth, to find out what to expect and how you should deal with them.
With 25 years of towing experience and 18 years in 4WD and towing training under his belt, Jeremy outlines his top five most common camper trailer repairs. However, he stresses that the key factor in preparing for DIY repairs is maintenance and prevention. “If you maintain your trailer, these repairs will be a rarity,” he says.
1. Electrical connections
Jeremy’s top issue is with damaged electrical connections – specifically the seven-pin plug and socket between camper trailer and tow vehicle. He attributes this to improper use, namely pulling the socket by the cable or general rough handling, such as forgetting to disconnect the cable before uncoupling. The danger here is that your brake lights, indicators and, most seriously, electric brakes could fail to activate.
Before setting out, familiarise yourself with your camper trailer’s wiring and be sure to keep a copy of the wiring diagram. Rewiring a plug isn’t rocket science, but remembering which colour wire goes where will test you.
Tools: A basic electrical toolkit is advised. This will contain electrical tape, connectors, a basic crimping set, a spool or decent length of electrical wire, and a circuit tester.
2. Flat tyres
Another common issue is the flat tyre. Again, they aren’t very likely to occur unless your tyres have been poorly maintained or are incorrectly inflated. Check out our step-by-step guide on how to change a tyre. Before any journey, you should be fairly comfortable with performing this task.
Tools: You might expect to use your tow vehicle’s jack and wheel brace for your camper trailer. However, if you’ve never changed your camper’s tyres, Jeremy recommends double-checking that the jack can safely anchor on your trailer and your wheel brace fits your camper’s wheel nuts.
3. Wheel bearing
There are two types of camper trailer owners: those who can change a wheel bearing on the shoulder of a desert highway, and those who cannot. If you’re still reading, chances are you’re in the latter category. When your bearings go, they’ll likely make a strange noise when you’re at speed – this noise may change as your vehicle changes direction. On inspection, your hub will be smoking and/or be scorching hot to the touch. Your best bet here is to call for help and get the trailer recovered to the nearest workshop.
Chances are the warning signs were evident before you set off. With your trailer up on a jack or stands, if you detect play in the wheel when you rock it side to side then it’s time to change and repack that bearing. Jeremy says bearings should be inspected every 20,000 km, and even sooner if you’re doing plenty of off-road travel, especially on dusty roads or through water crossings.
Spares: Even if you don’t know how to change a wheel bearing, it’s a good idea to bring a kit with you. If your camper is an older one, there’s a good chance a country mechanic won’t have suitable wheel bearings. They’re cheap to buy and don’t take up much space.
4. Suspension failure
This one really comes down to proper maintenance and observing your trailer’s payload limit. Jeremy identifies exceeding a camper trailer’s payload as the biggest cause of suspension failure. Another is speed, especially on unsealed roads.
Spares: Unless you’ve brought along a spare leaf or coil spring, Jeremy says you don’t have much hope in this situation. And even then, changing one over is no simple process. This is when it’s time to call for recovery.
5. Brakes
If you’re taking your camper trailer off-road, there’s a chance your electric drum brakes are going to pick up debris from rocky roads and water crossings. If this is the case, you’ll hear a scraping noise every time you brake. Bear in mind that on most camper trailers you’ll have to remove the wheel bearing in order to remove the brake drum. If this is required, you may need to nurse your camper trailer to the nearest workshop.
DIYer’s toolkit
In addition to the tools and spares mentioned above, your toolkit should include the basics: a few screwdrivers, spanners, a hammer and a mallet. Jeremy recommends you only bring tools and spares that match your capability. “Too much gear – no idea!”
Jeremy’s key message is that adequate maintenance is your best defence. Following that, understand which DIY repairs you are and aren’t capable of and act accordingly.
Now is probably a good time to cover caravan maintenance.