A caravan or motor-home has a lot of large surface areas that are a chore to keep spotless. But if you are prepared to invest some time and money in taking care of paint and trim, your pride and joy will look much better for longer and be much easier to clean into the bargain.
There are three stages to paint care: cleaning paint surfaces in preparation for paint correction, paint correction (polishing) and paint protection.
1. CLEANING
Give your rig a thorough wash using a household detergent to remove any remaining wax and grime.
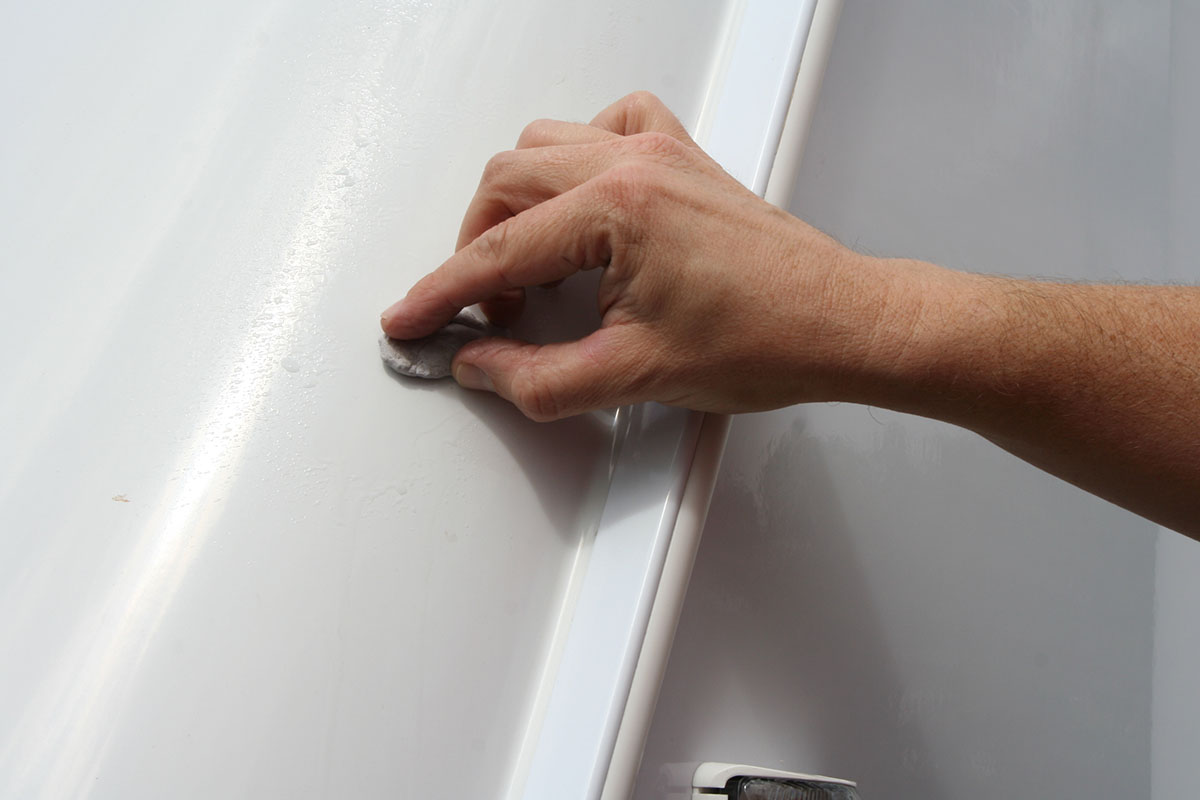
Next, remove stubborn contaminants on the paint with a clay bar, which is a pliable, synthetic material that feels a bit like Blu Tack. Nothing works as well as a clay bar to remove bugs, sap, bird droppings and particulate pollution. It’s one of car detailing’s best inventions!
Once your paint surface is washed clean and dry, pull off a one-fifth segment of clay bar and flatten it. ‘Clay’ needs something to glide over the paint surface, so use a lubricant such as soapy water or a ‘quick detailer’ spray. After you’ve sprayed a section of paint, rub the clay over the surface in a forwards and backwards motion with light to medium pressure until you feel the paint is smooth, and wipe off the excess lubricant with a microfibre cloth. You can fold or knead the same piece of clay to get a ‘fresh’ section to rub on the paint several times before you need to discard it.
After the clay bar treatment, it’s time for a quick rinse and dry in preparation for polishing.
2. POLISHING
For powder-coated vans that have weathered a little, use a mildly abrasive one-step polish/sealer on the paint to remove the oxidised top layer while not removing too much good paint underneath. For brand-new vans, a non-abrasive sealer might be enough, but even new vans can have minor imperfections that a mild abrasive polish will take off.
You may notice holograms or swirl marks and scratches in the clear-coated paint areas in particular. Use a couple of stages of a multi-stage light cutting compound (some are sold in four cutting grades from heavy to very light) to remove such imperfections and make your motorhome paint reflect like a mirror – after a lot of elbow grease.
Once you’ve used a light-abrasive polish, you can maintain the paint with a wash, clay bar and then just a sealer or wax top coat every three to six months.
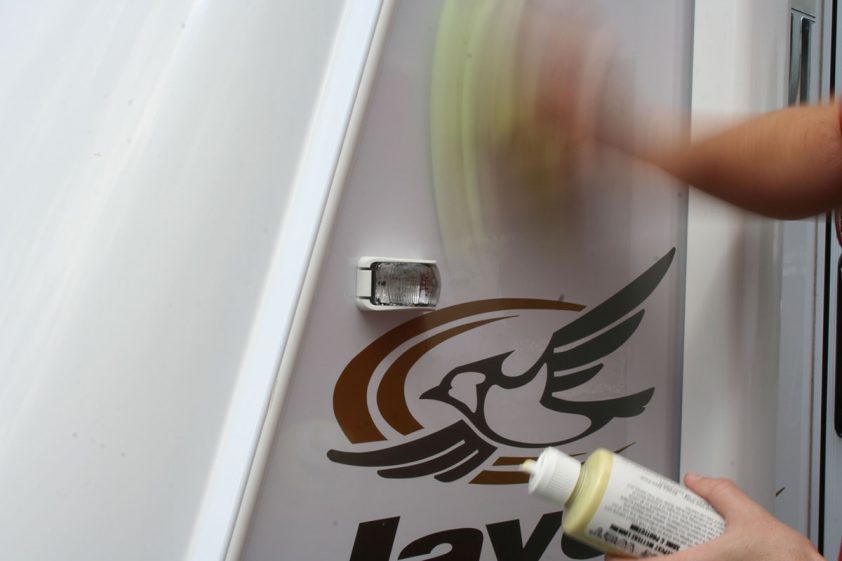
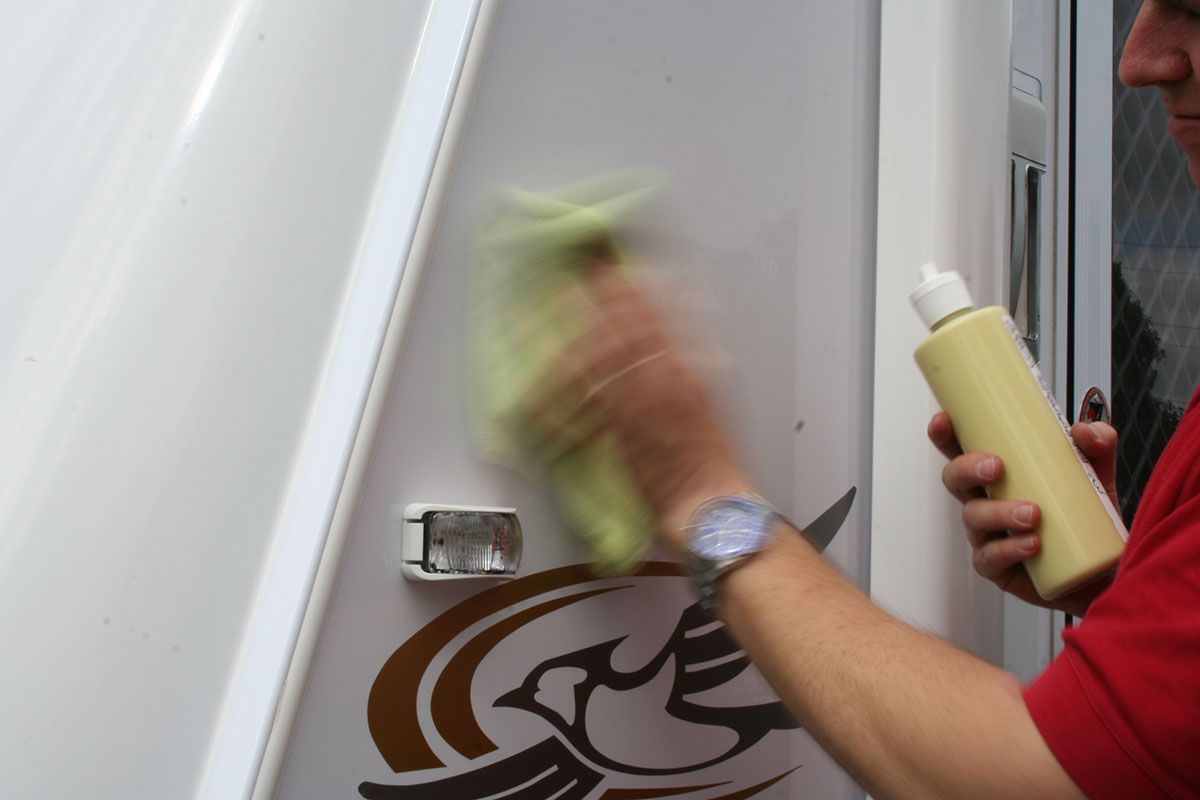
Pay attention to polish manufacturer instructions, which can make a world of difference to how easy the polish is to apply and how long it lasts. When instructions say to apply thin coats, do so, otherwise it will smear and prove difficult to work with.
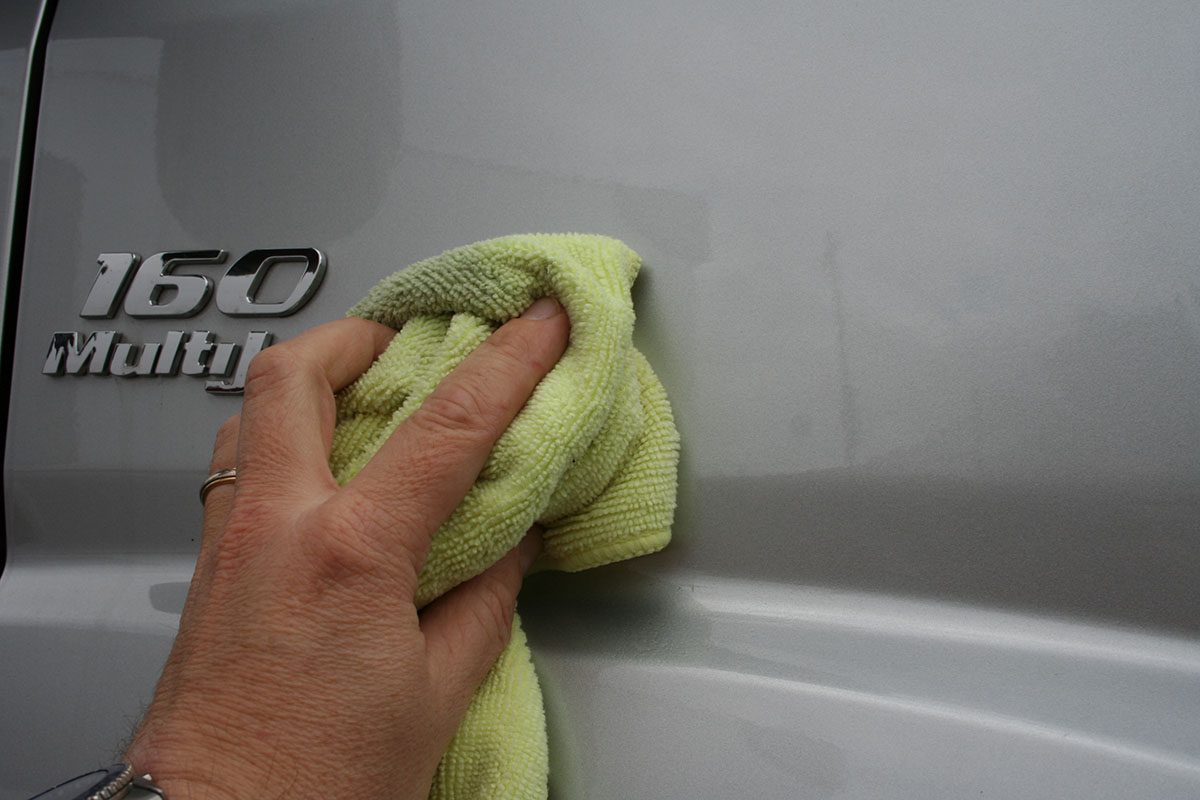
Wipe off the polish residue with a micro fibre cloth. How long till you remove the residue? Again, it will depend on the instructions: some are best removed almost immediately after application, with others you need to wait until they have dried to a haze.
Some polish manufacturers also suggest a temperature range in which to apply the polish. If you are working outside this range, you might find it is harder work than necessary. Humid conditions also make it harder to remove the polish residue, with the polish ‘clogging up’ in the cloth. You may just need to use more cloths to get the job done, or wait for drier weather.
Make sure to regularly change to a fresh polishing cloth too. Don’t persist with a cloth that has filled with polish as it just makes your job harder.
3. WAXING
Waxing a caravan is a satisfying, last step to polishing your rig. Good carnauba wax is expensive but will give paint a deeper lustre than a sealer only, and while it takes extra effort, it will be relatively quick to apply because your paint is already cleaned and polished.
Some reasonable waxes cost as little as $20, but a good-quality wax is typically around the $80 mark for a tub that should stretch to two coats on an average-sized rig. Even a quality wax won’t afford the same protection as a good polish/sealer, only lasting a month or two in the open, but if you cover your rig it will last longer.
Maintaining you rig’s paintwork requires a fair bit of effort the first time, but once you have started, it does get easier to keep up. It will all be worth it when the buyer or trade-in valuer lays eyes on your gleaming rig.
This article comes courtesy of Caravan World. Please click here for the full article: www.caravanworld.com.au/features/1106/diy-detailing-on-your-caravanmotorhome
MEET THE AUTHOR

Philip Lord
Phil is a long-term vehicle tow-tester and also the former owner of a 1979 Viscount Grand Tourer, which he restored before selling it to make room for his next project: a mid-1980s Windsor Windcheater.
Phil has been a motoring writer for more than 20 years. He has tackled most automotive and technical subjects throughout his media career, which has seen him contribute to such illustrious journals as Caravan World, Camper Trailer Australia, Wheels, 4X4 Australia and Motor.